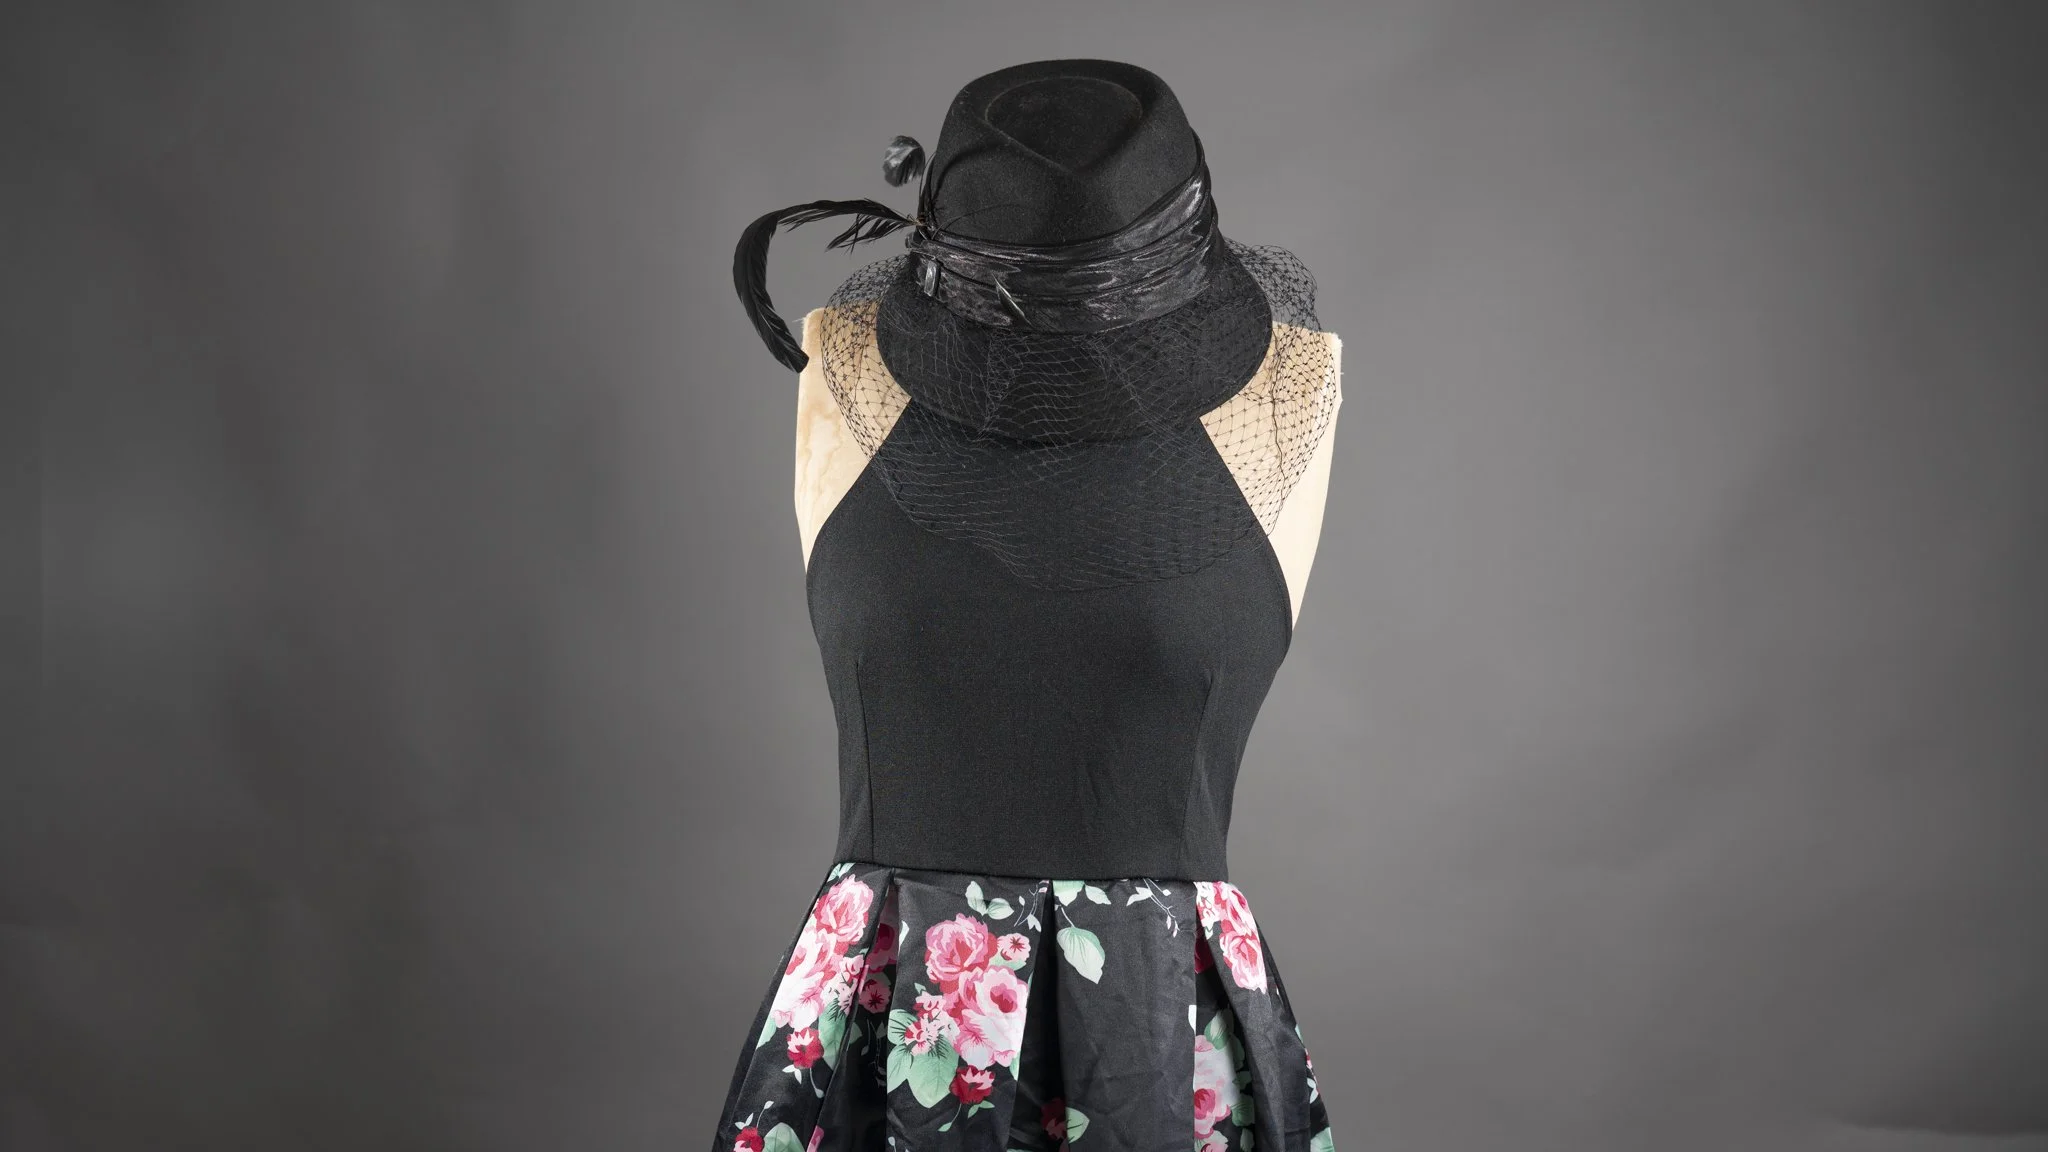
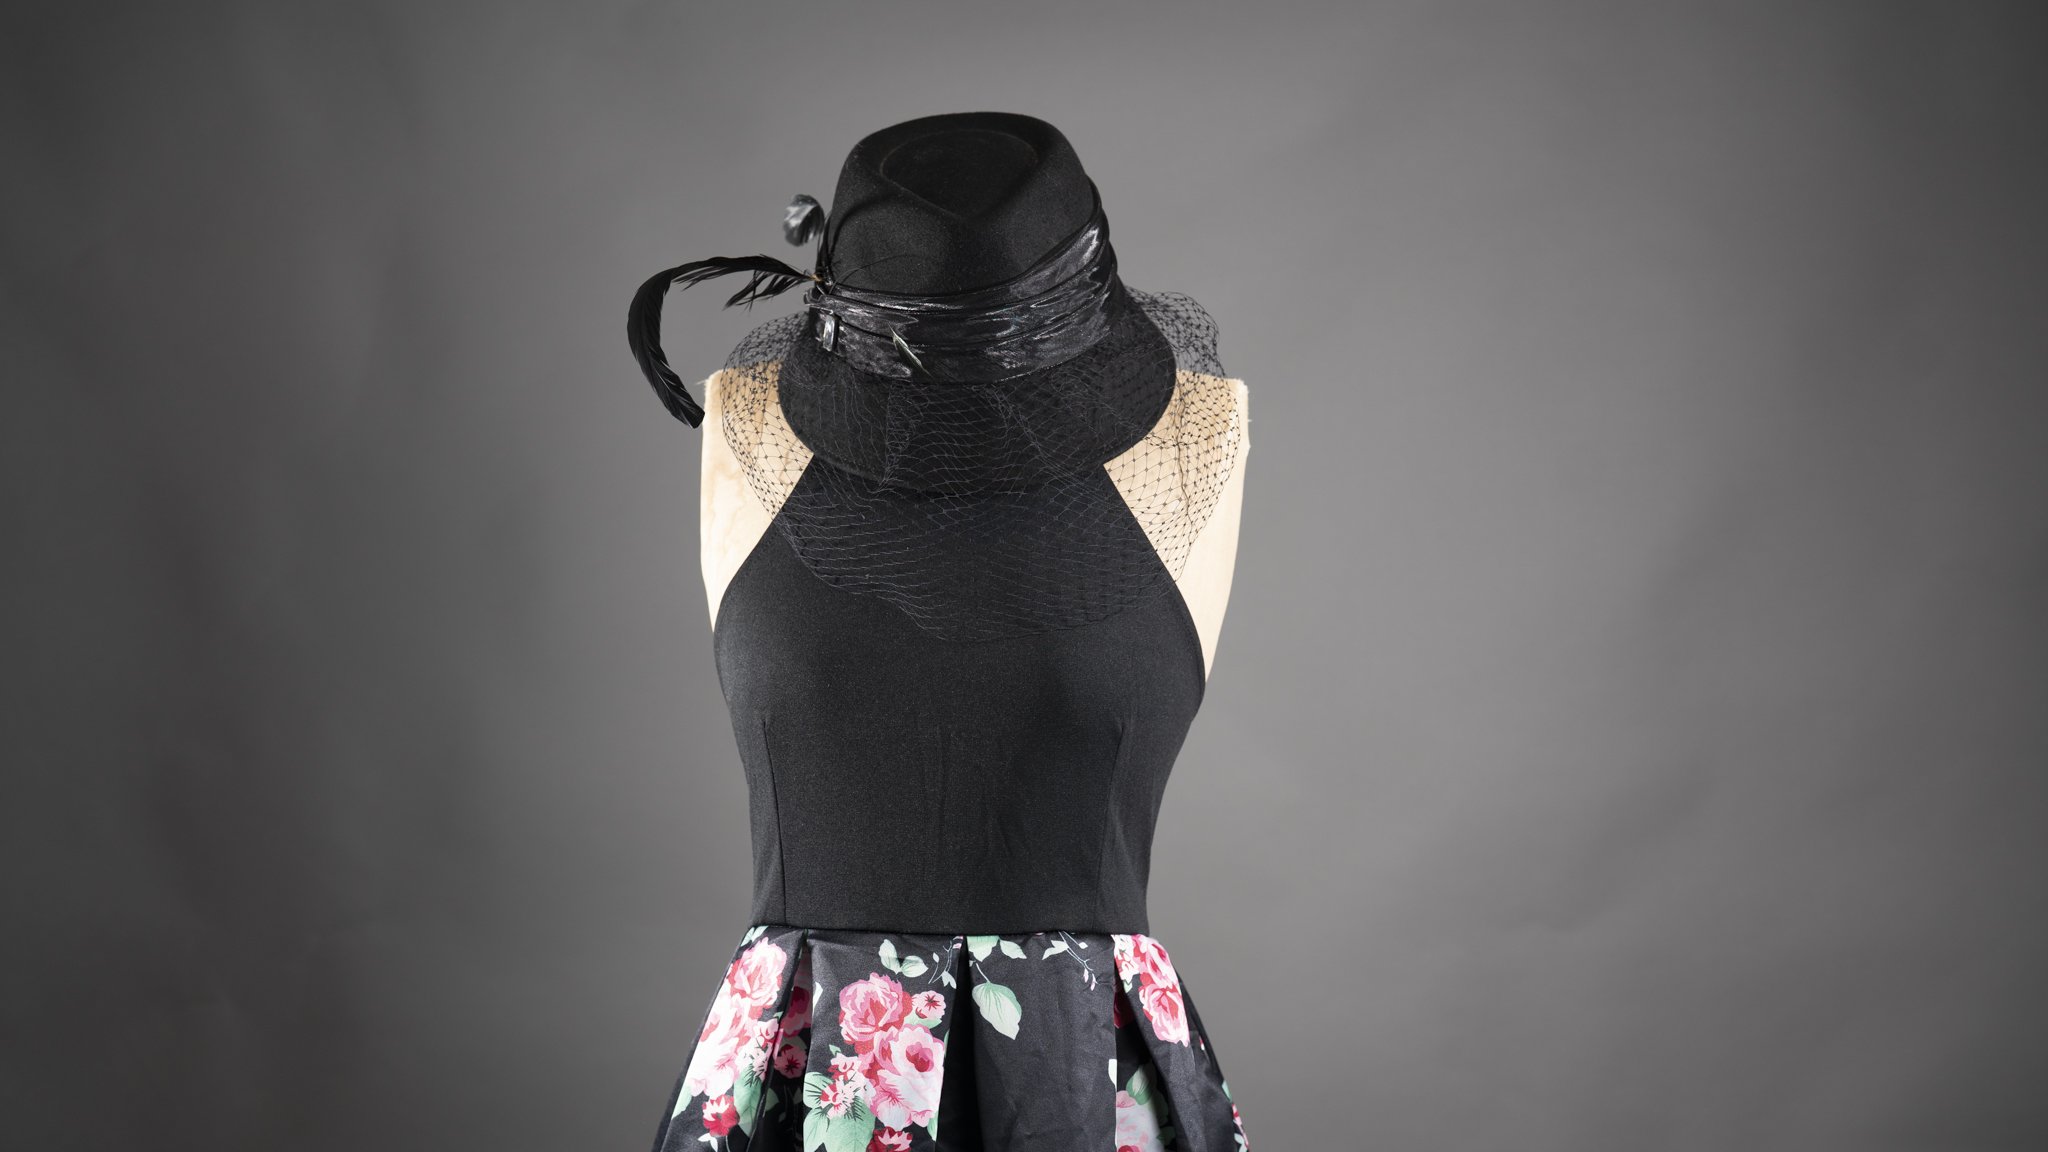
Mastering Two-Light Setups with the Neewer Q6 Strobes and QZ Trigger
Lighting is the backbone of portrait photography. While you can create beautiful images with just one strobe, adding a second light opens up a world of creative control and polish. With my Neewer Q6 strobes paired with the QZ trigger, I can create flexible and repeatable lighting setups for everything from moody still life to polished portraits. Today, I’m going to walk you through some of my favourite two-light setups that you can try in your own studio.
Why the Neewer Q6 and QZ?
The Neewer Q6 is a 600Ws portable strobe with fast recycling and a reliable battery, making it equally comfortable in studio or on location. Paired with the Neewer QZ trigger, you get full TTL and HSS support, precise manual adjustments, and the ability to independently control multiple groups. In short, it’s a workhorse that grows with your creativity.
Two-Light Setups to Try
Classic Key & Fill
1. Classic Key and Fill
Setup: Place your first Q6 with a large softbox or umbrella at about a 45° angle to your subject (key light). Then, position the second Q6 opposite the first, but dialled down 1–2 stops for fill.
Result: Soft, flattering light with gentle contrast—perfect for beauty portraits, headshots, or even product photography.
Rembrandt & Kicker
2. Dramatic Rembrandt with Kicker
Setup: Position your key light high and angled to create that iconic Rembrandt triangle under the eye. Use your second Q6 as a kicker light behind your subject, feathered to skim across hair or shoulders.
Result: Adds separation and drama, giving your portraits a cinematic quality. Fantastic for creative character shoots.
Clamshell Lighting
3. Clamshell Lighting
Setup: Place one Q6 above your subject angled down with a softbox (or beauty dish), and the second Q6 below angled up, often softened further with a reflector.
Result: Even, glowing light that flatters skin and reduces shadows—ideal for glamour or beauty portraits.
Split Lighting
4. Background Separation
Setup: Use one Q6 as your main key light on the subject. Place the second Q6 aimed at the background (with or without a gel).
Result: Creates depth and interest by separating your subject from the backdrop. Works beautifully for headshots, fashion, or still life when you want colour pop.
Cross Lighting
5. Cross Light for Texture
Setup: Place both Q6 strobes at 45° angles opposite each other so the subject is lit from two sides.
Result: Accentuates texture—think fabric, hair, or even food photography. You’ll get defined shadows and highlights, great for a more edgy or editorial look.
Silhouette with Rim Lighting
6. Silhouette with Edge Light
Setup: Position one strobe behind the subject pointing toward camera to create a rim or halo. Use the second strobe off to one side as a subtle fill or kicker.
Result: A striking silhouette or semi-silhouette effect, perfect for dramatic portraits or creative storytelling.
Tips for Success
Always start with one light, get it right, then bring in the second.
Use your Q6 trigger groups to easily dial in ratios without running back and forth.
Modifiers matter—softboxes for softness, grids for control, umbrellas for spread.
Don’t forget to meter or chimp your exposures for consistency.
Final Thoughts
The beauty of working with the Neewer Q6 strobes and QZ trigger is their flexibility. With just two lights, you can achieve a huge variety of looks—from soft and flattering to bold and dramatic. Whether you’re photographing people, products, or still life, experimenting with two-light setups will help you elevate your photography to the next level.
So grab your gear, set up your Q6 strobes, and start experimenting—you might be surprised by how much two lights can transform your images.
I also have a video over on YouTube, why not check that out too, as I walk you through HOW to achieve each type of lighting.


