
Creating that soft, dreamy, hazy look
Creating that soft dreamy almost hazy and ethereal look in Lightroom Classic and Luminar 4 isn’t as difficult as you might think. Sure, it is always best to capture in-camera, and I will look at a few fun ways to do that. But sometimes, we want to apply it to images AFTER the shoot, too.

In-camera
In-camera is always the preferred option for any image. The right composition, the right exposure, the right aperture … but sometimes, just sometimes we need a little help.
Way back when photographers used to smear vaseline or similar on lenses — messy! You can put plastic cling wrap or cellophane over your lens and smear vaseline on that, then throw it out when you are done. But that’s still messy and not eco-friendly.
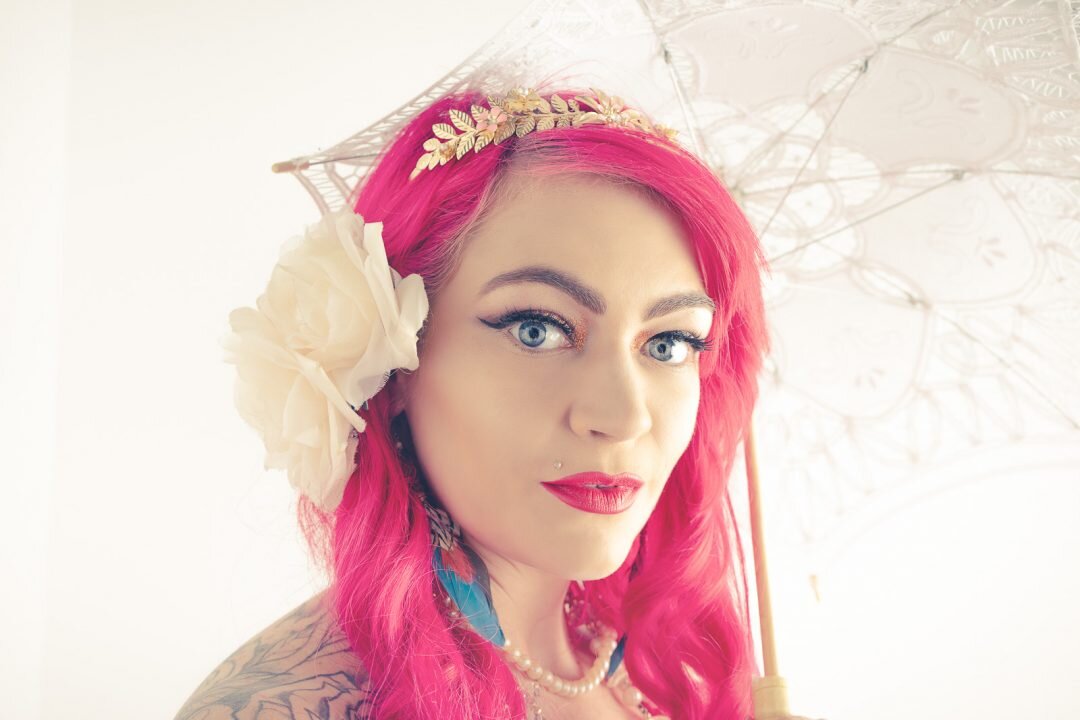
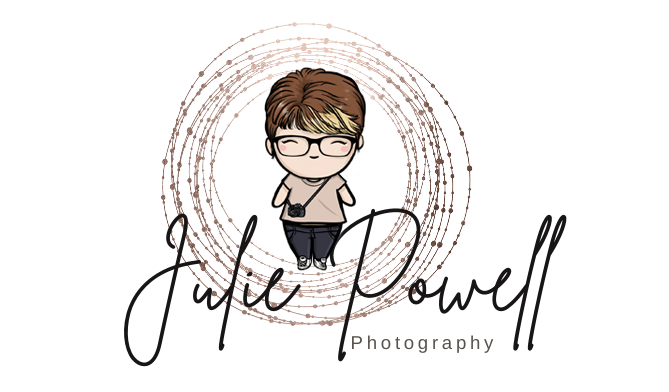
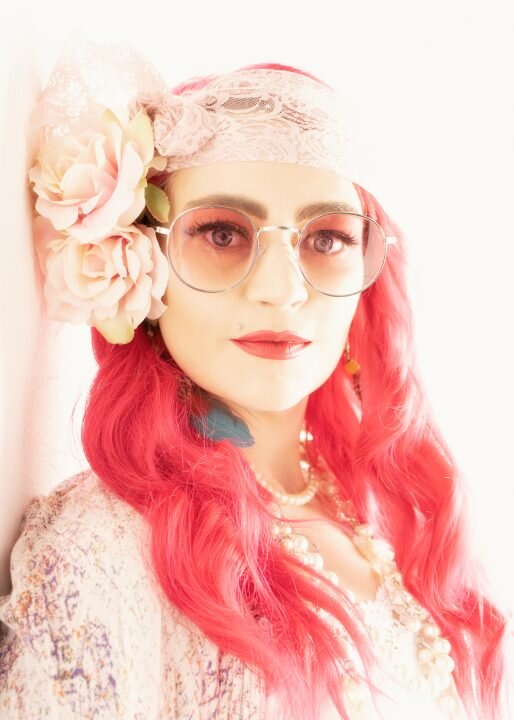
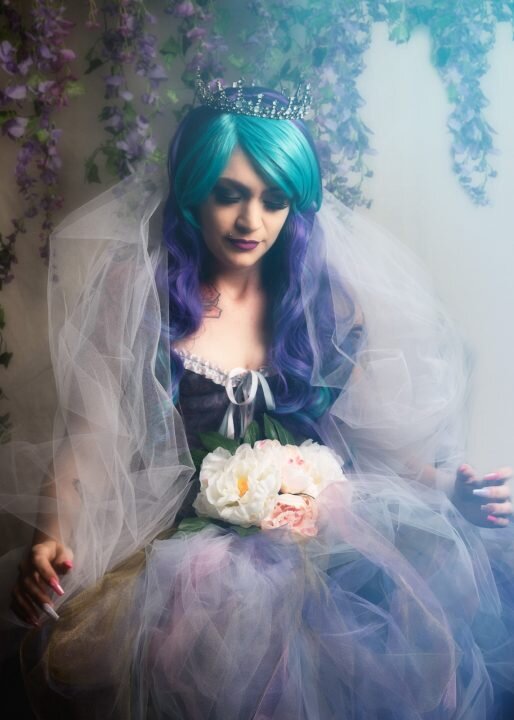
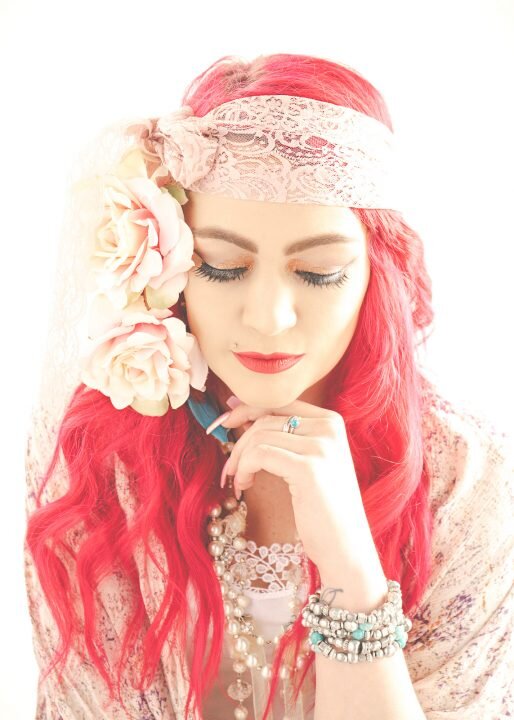
Instead try some material like chiffon, cheesecloth, lace, tulle … anything that you can see light through. Place it over your lens and hold with a hair tie. Cover the whole lens or just part of it — it gives a lovely soft dreamy haze over the whole image. This is perfect for boudoir, still life and romantic portraits.
Different material gives a different look to your images. I personally prefer chiffon, but cheesecloth can create a lovely effect too.
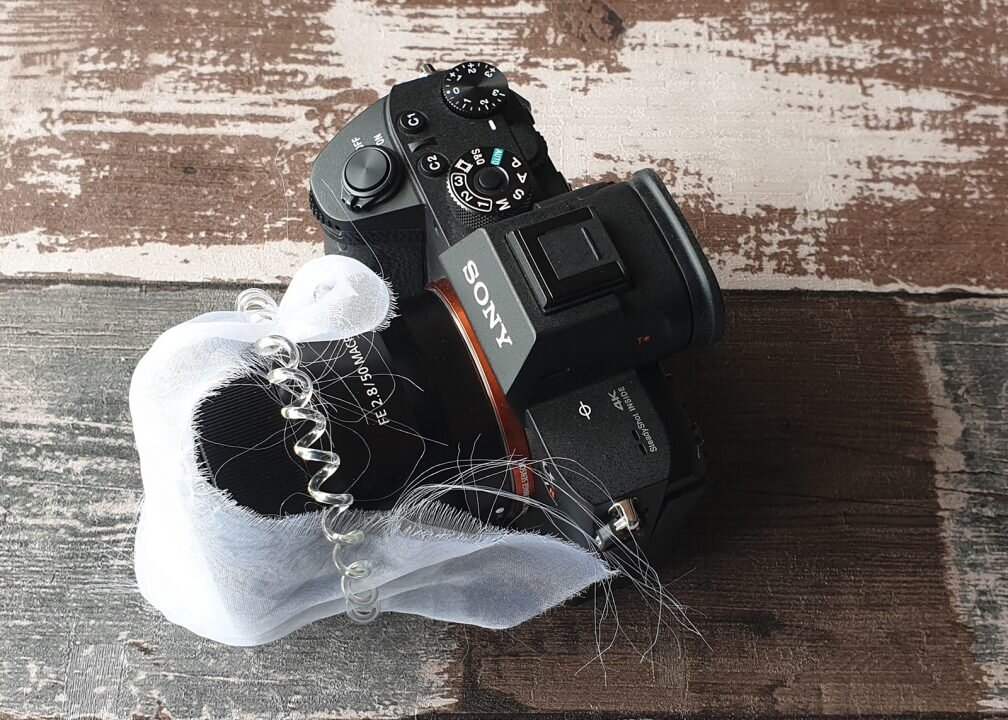

It may not look very glamorous, but it can help create some lovely images.
What if you want to create this look on images you have already shot, without re-shooting? Well, it can be done in Photoshop, but let’s look at re-creating these effects in Lightroom Classic and Luminar.
Lightroom Classic
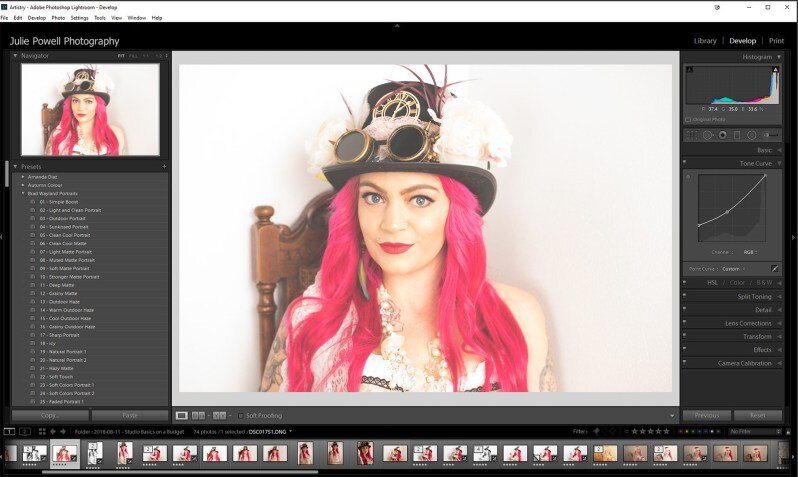
So there are two quick and easy ways to create this effect in Lightroom. Firstly go into the tone curve and pull the blacks (bottom left-hand corner of the histogram) up. This removes all the blacks from the image and drops the contrast, making the image soft and hazy. If you set a midpoint you can retain some of the color and shadows still.
The second way to achieve this is by going to the Effects panel and reduce the Dehaze by about -10 or so, but you can lose contrast in all aspects of your image. It can often dull colors as well. But if you’re looking for that soft vintage desaturated look, this is a great option.
Luminar 4
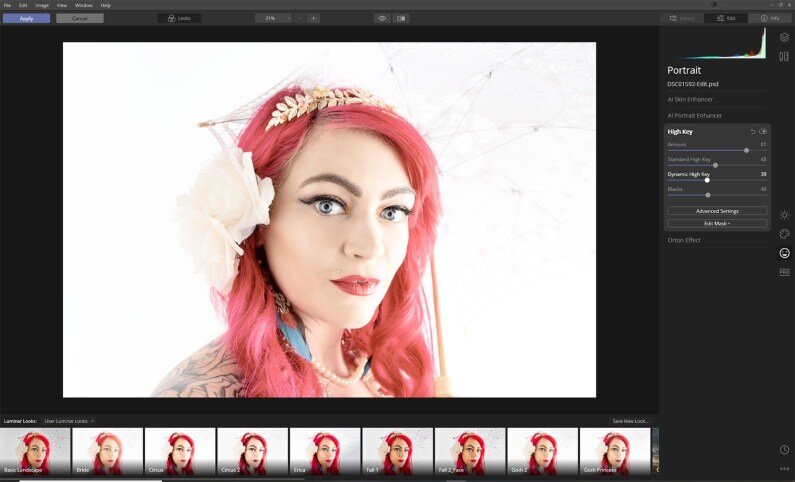
There are also two different ways to achieve this in Luminar 4, too. In the Portrait panel, go into High Key and play with the different settings, like Amount and Standard, or Dynamic High Key. The amount of dreaminess is totally up to you and what you feel fits the mood of your image.
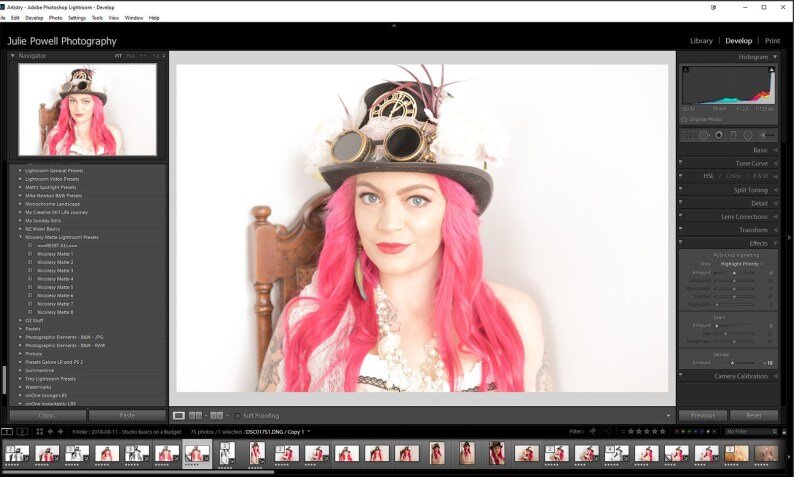
The second way is to use the Matte Look in the Creative panel. If you really boost the Amount slider and drop the Contrast and Fade a touch, you can achieve some really lovely results as well. You can often lose a little detail doing it this way, so a super sharp image is required to start with.

Obviously each variance has a slightly different look, from different fabrics in camera to the four different processing techniques, each with their own good and bad points. I really feel it boils down to personal preference. I also feel that a light, if not white colored background really is important.