
How I got the shot - ice coffee
This one is fun to try, especially if you are a coffee lover. Once you've got your shots, you can sit back and enjoy a delicious ice coffee while you edit!
Requirements
Camera and lens
Tripod
Remote trigger
Glass
Ice cubes
Expresso coffee
Fresh milk
Vessels or jugs for pouring (optional)
The setup
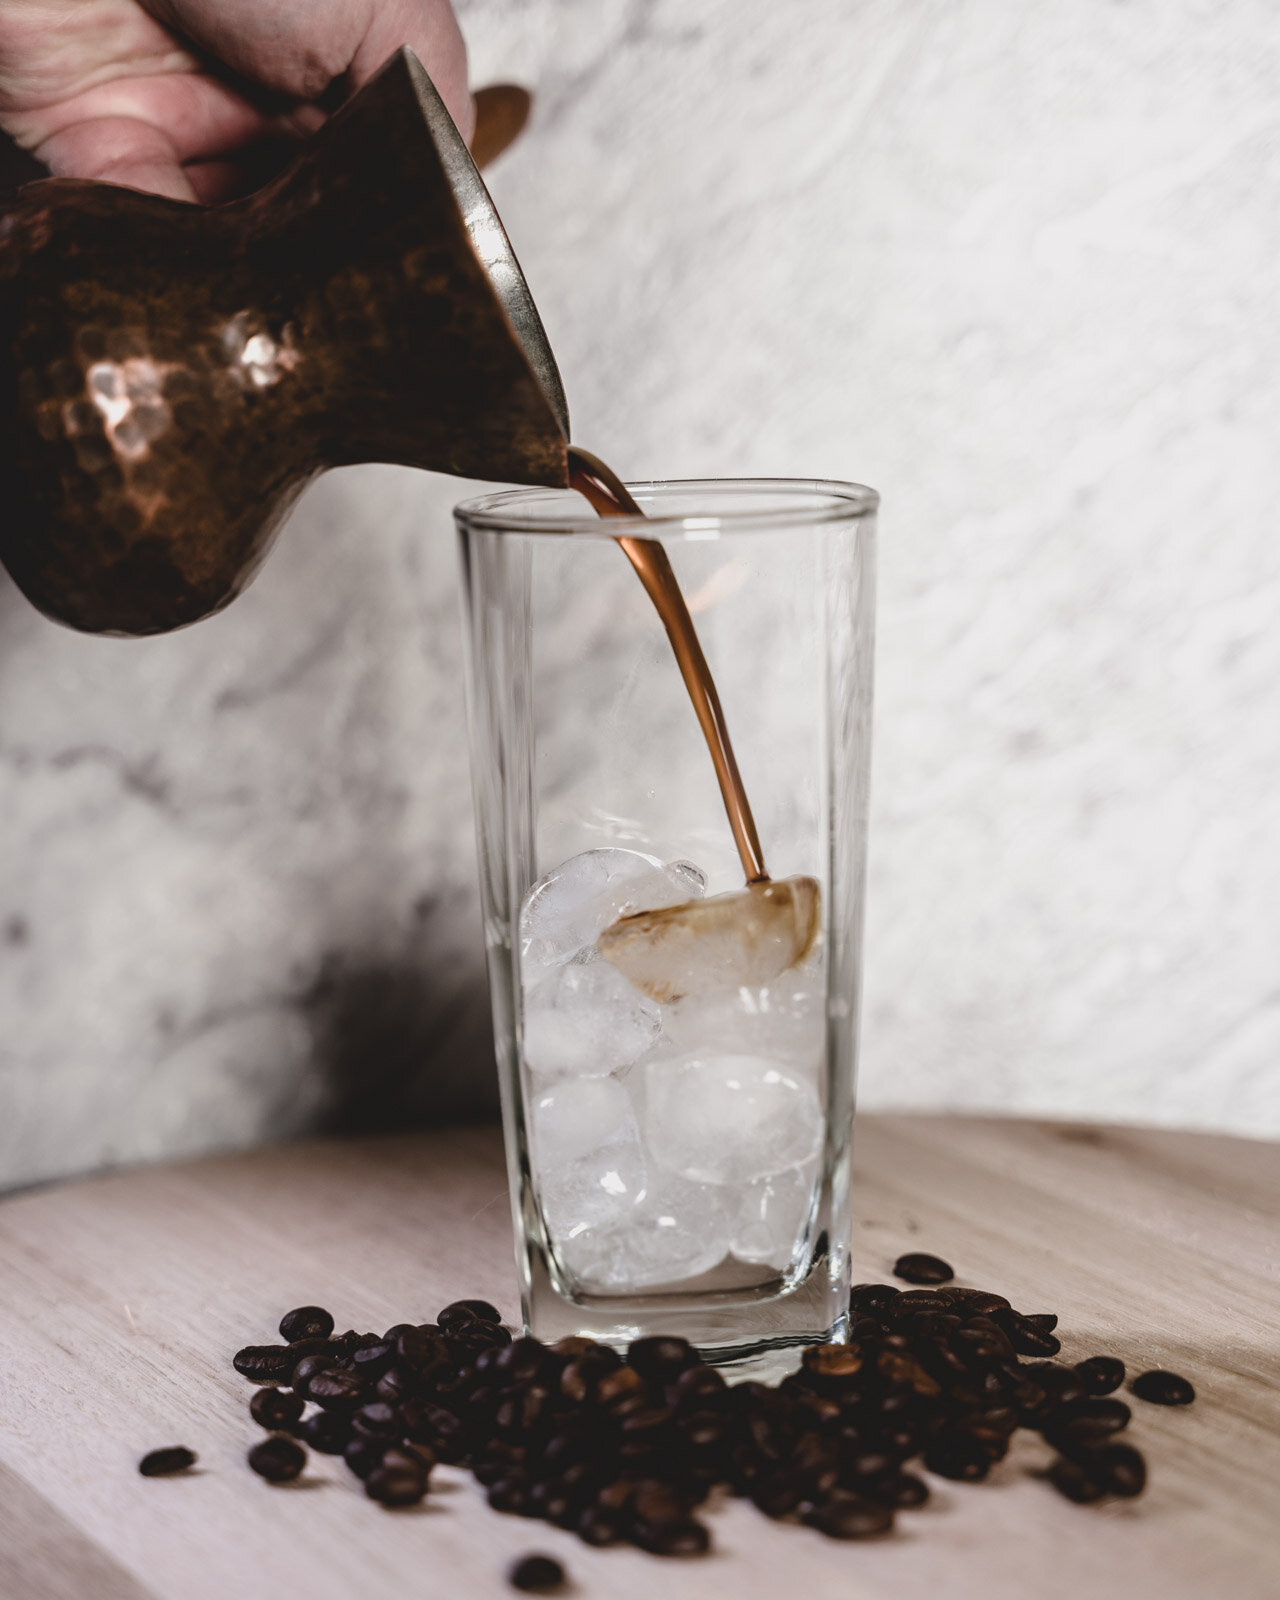
I popped my camera on a tripod and set the scene. On a table, next to a window with natural side-light, I put a timber board and a vinyl tile as my backdrop. I had my coffee beans ready, I set up my glass. I had a glass of ice, an expresso shot and fresh milk ready. Making sure my camera was all set up and ready to shoot on burst mode and my focus point on the glass.
Capturing the action
With everything set up ready to go, I first poured the coffee beans around my glass. Then the ice, then the coffee and finally the milk. All captured on burst mode with my Sony a7Riii.
Camera settings - ISO125, 75mm, f/4.0, 1/60seconds
All I had to do then was double-check, upload and edit them. By using burst mode I was able to create a mini stop-animation. If I had to reshoot, well then I had another ice coffee. This really was a case of one-shot wonder, making sure everything was right before I started pouring.

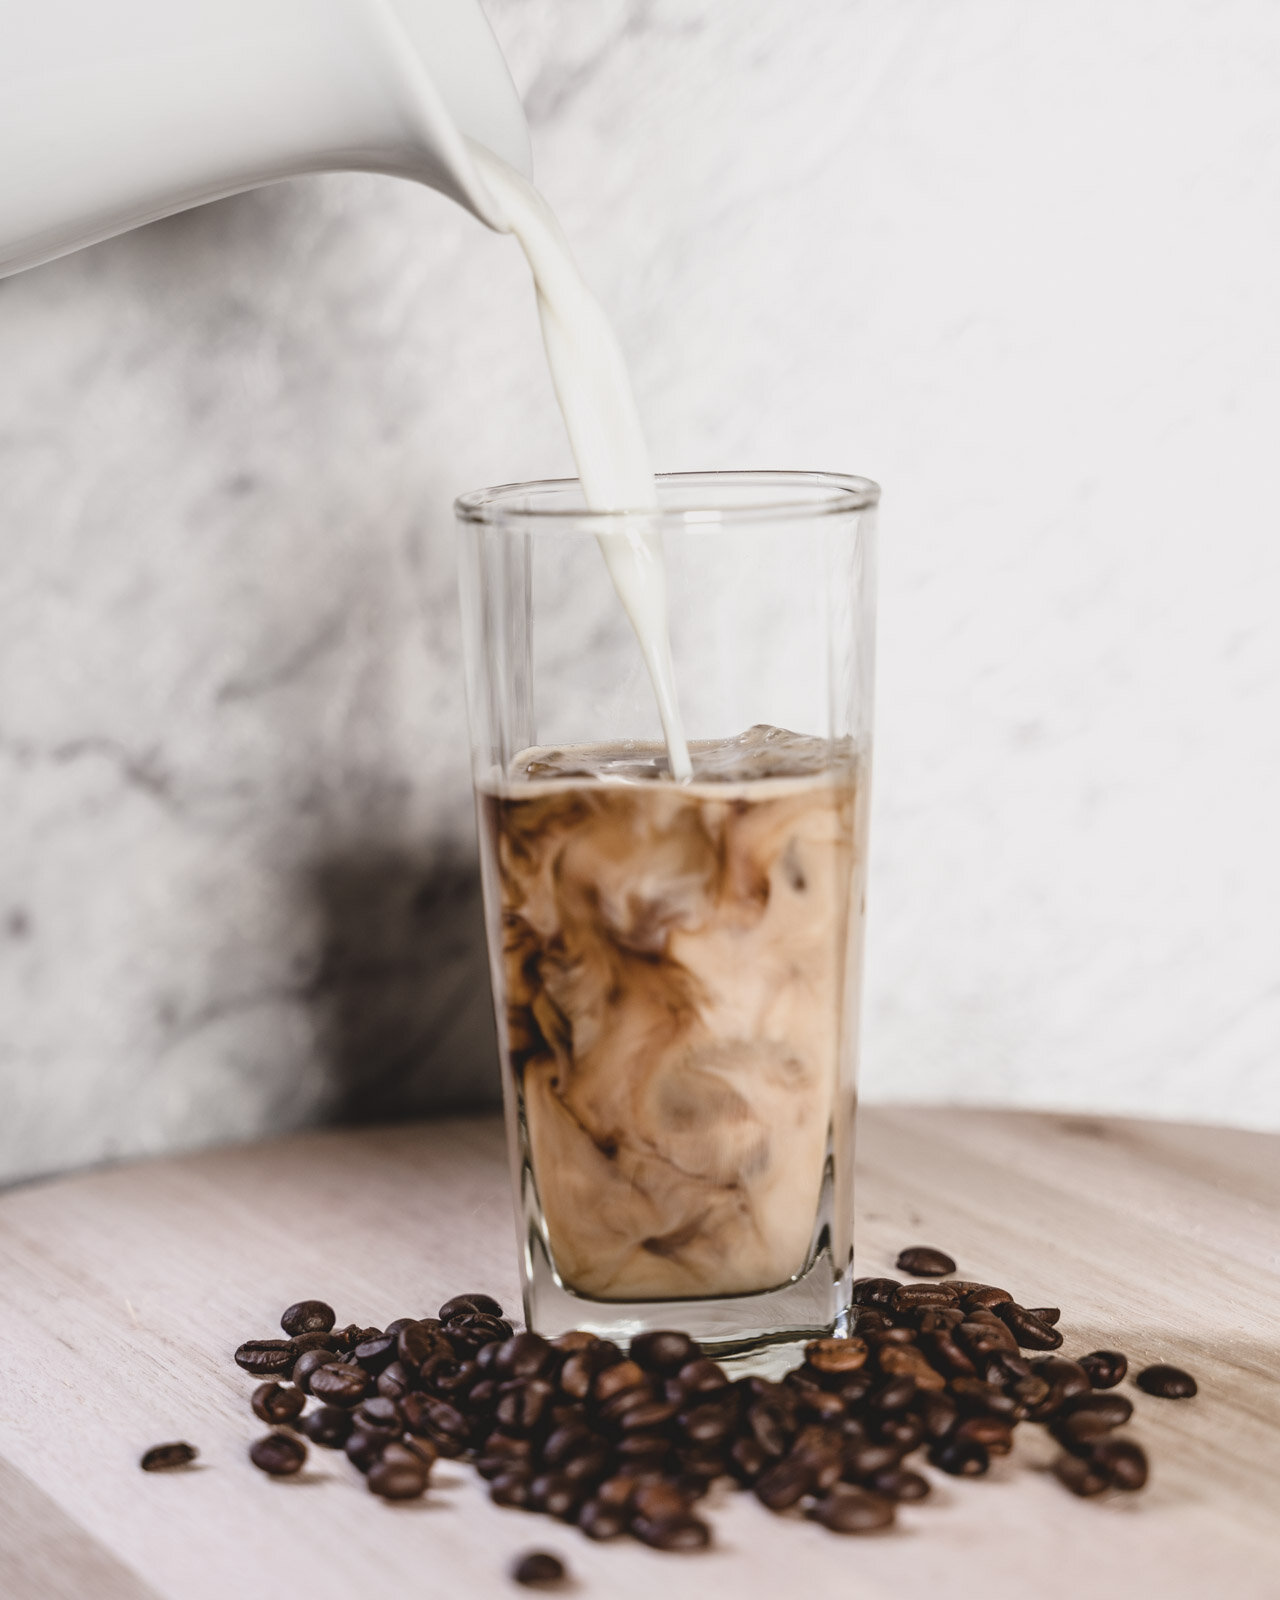

Don't you just adore those delicious swirls of coffee as it mixes with the milk? So if you are looking for some afternoon fun, with a yummy treat, why not try your hand at how I got the shot - ice coffee and make your own?

