

What are the best settings for landscape photography?
Landscape photography is probably one of the most popular genres of photography. It’s possibly why many of us picked up a camera in the first place. But unless you are a professional landscape photographer, you might be struggling with the best settings and modes to use for great results.
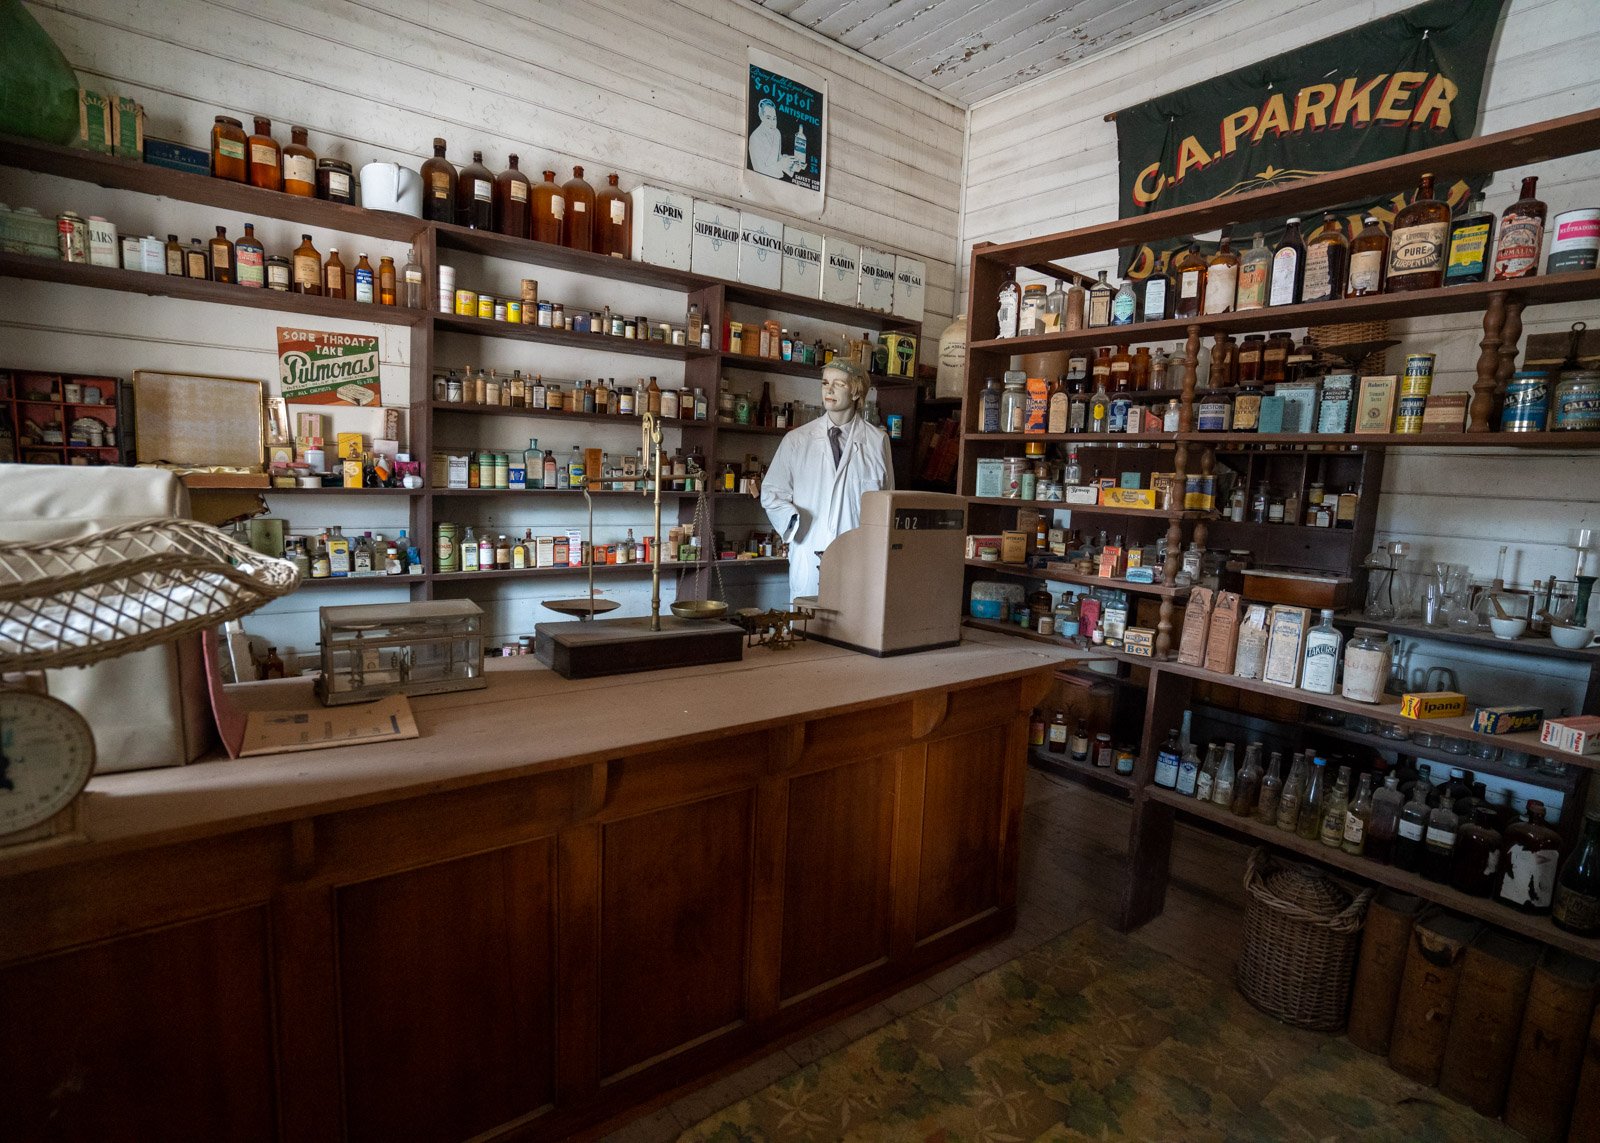
While I am NOT a professional landscape photographer, I do a fair amount of travel photography, and end up capturing a ton of landscapes. Here are some of my favourite tips.

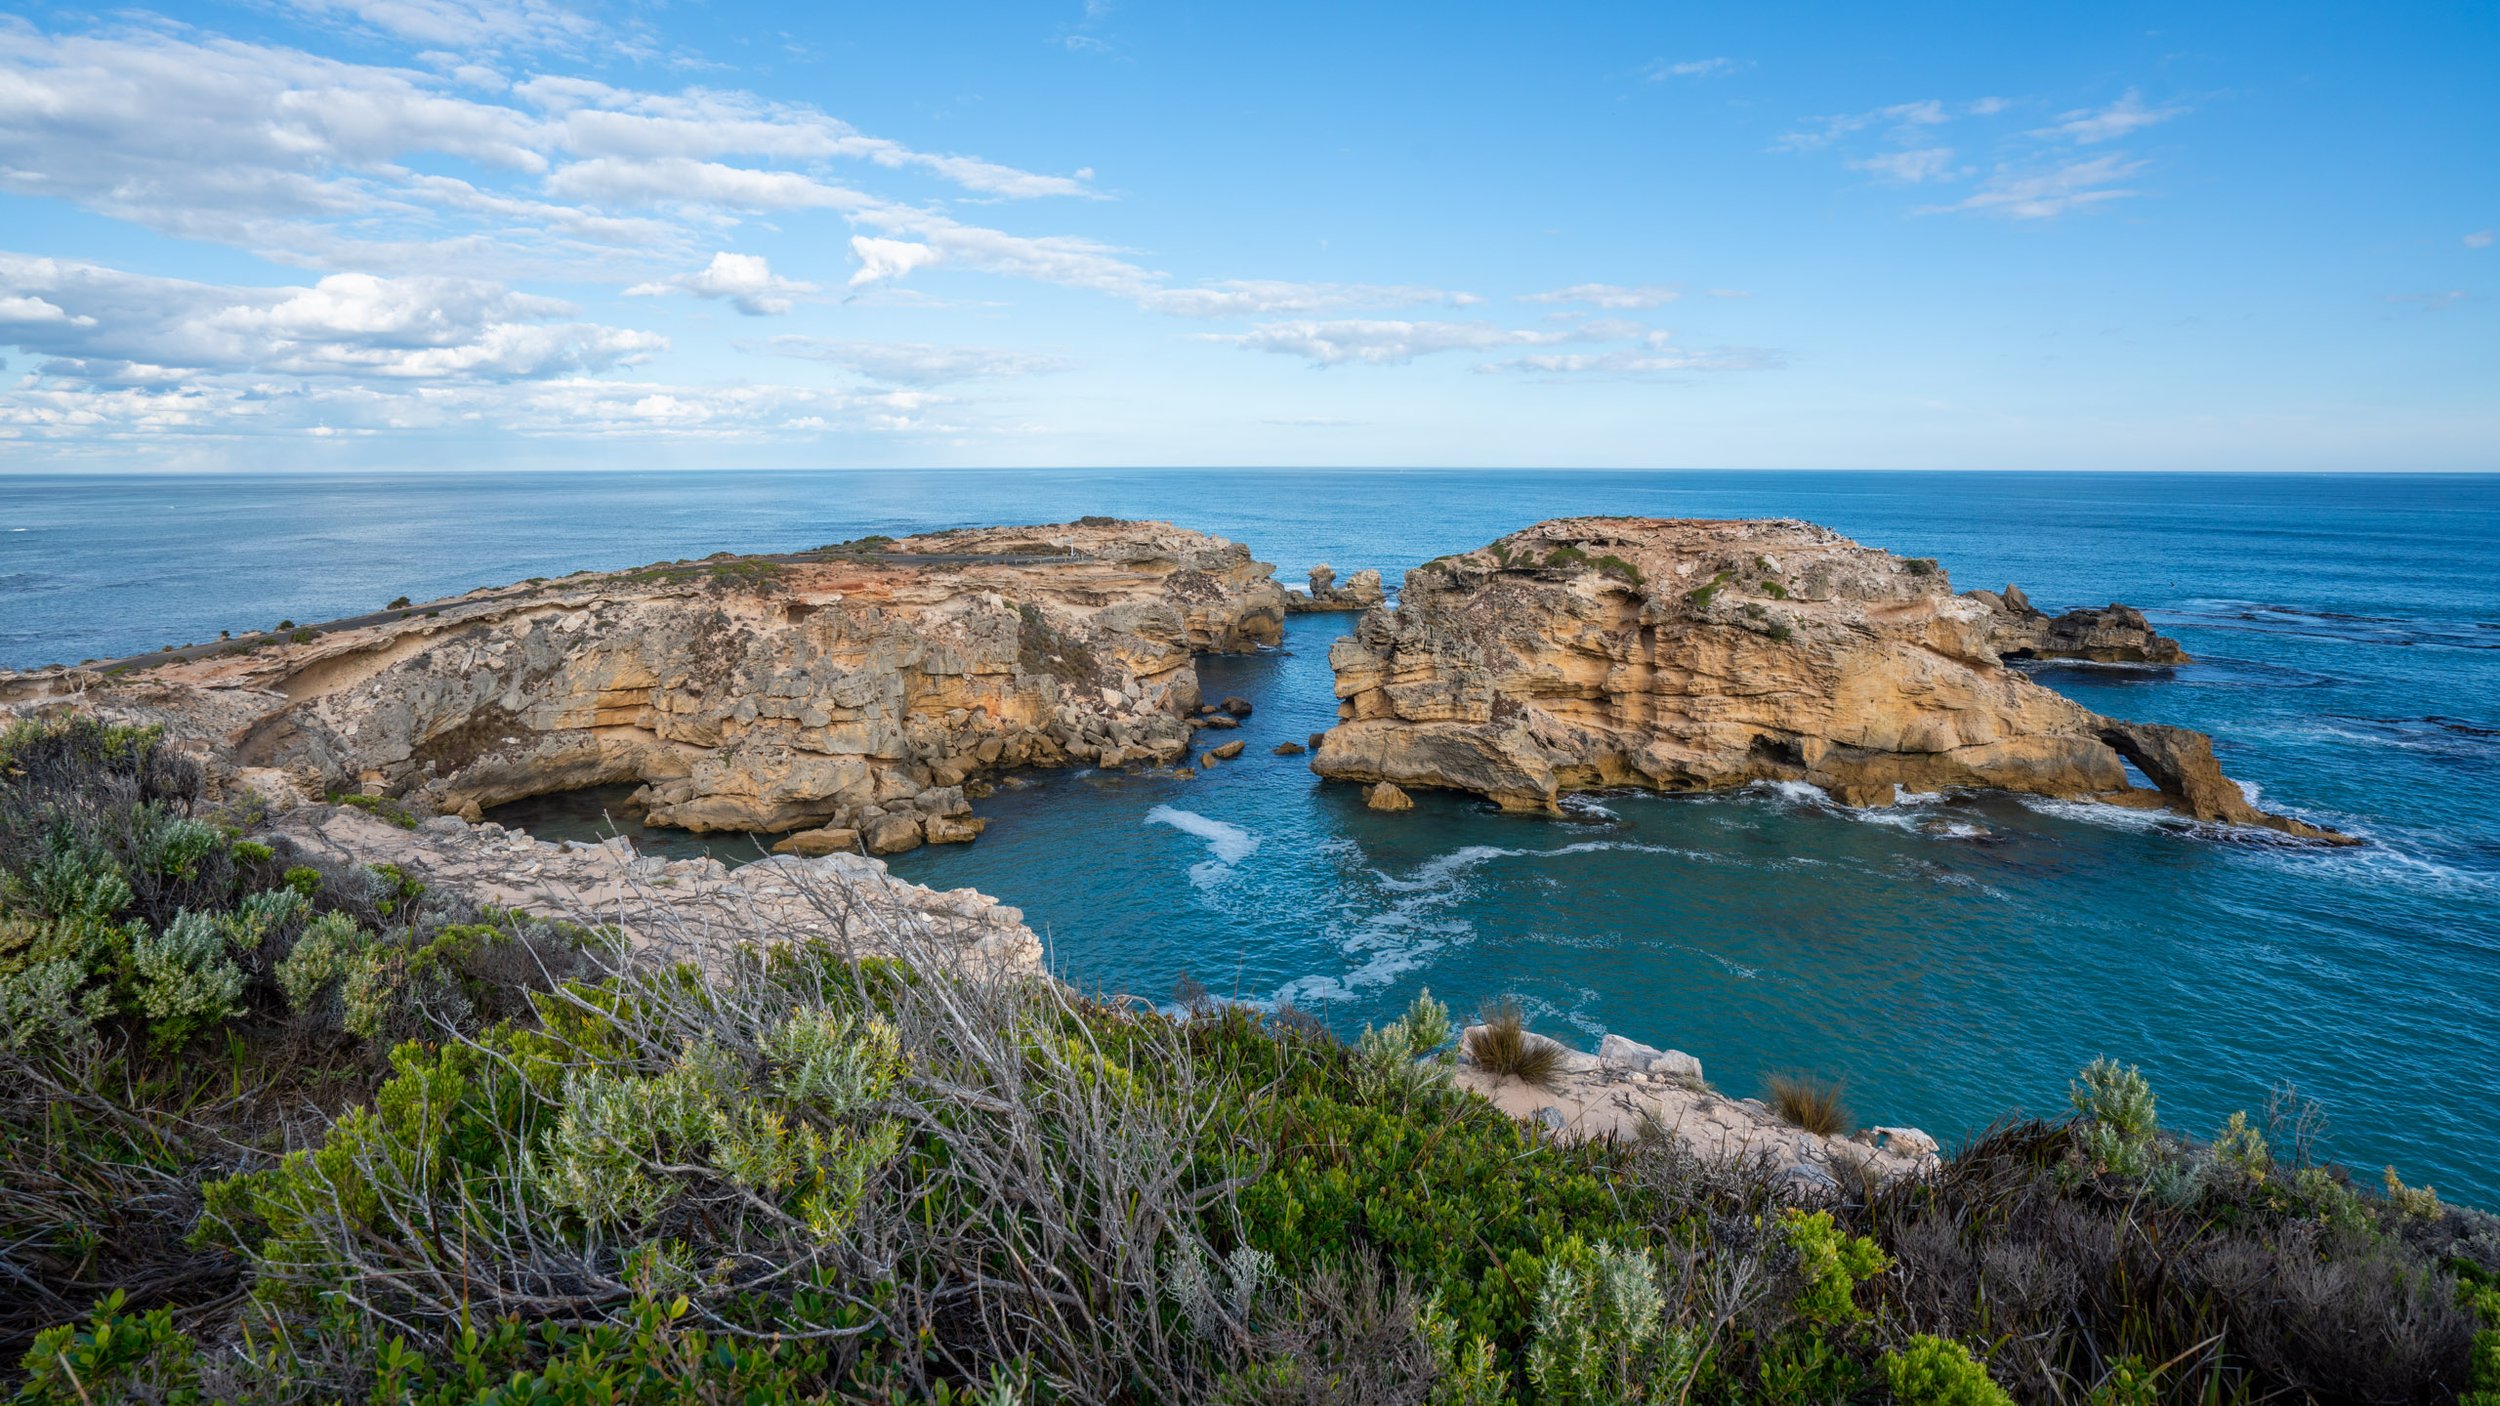
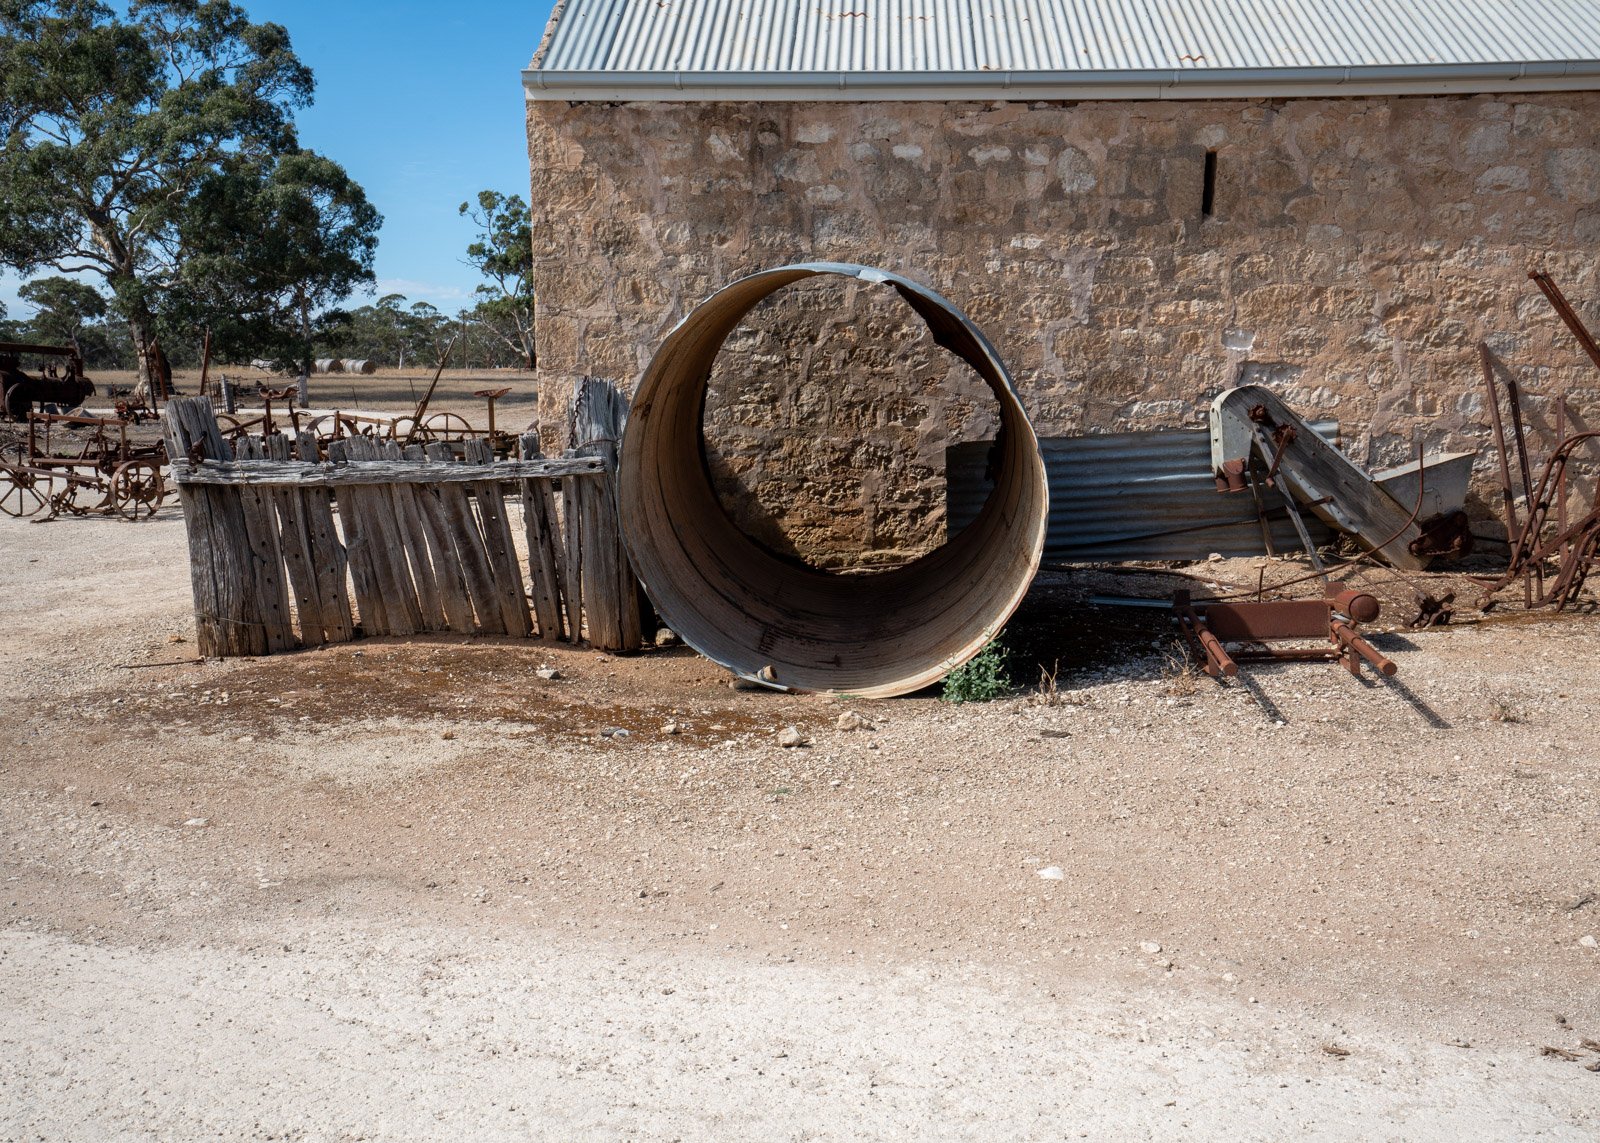
f/11 on Aperture Priority mode
Camera modes
Most Digital SLR and mirrorless cameras these days have several camera modes from Automatic, to Aperture and Manual. Often the pros suggest Manual mode, as it gives you complete control. But I personally prefer Aperture Priority and use Exposure Compensation if required.
Why? Well, my aperture is THE most important thing when it comes to my landscapes, so as long as I chose that, I’m golden. I let the camera figure out the rest and to be honest it’s pretty clever.
What’s the best aperture to use?
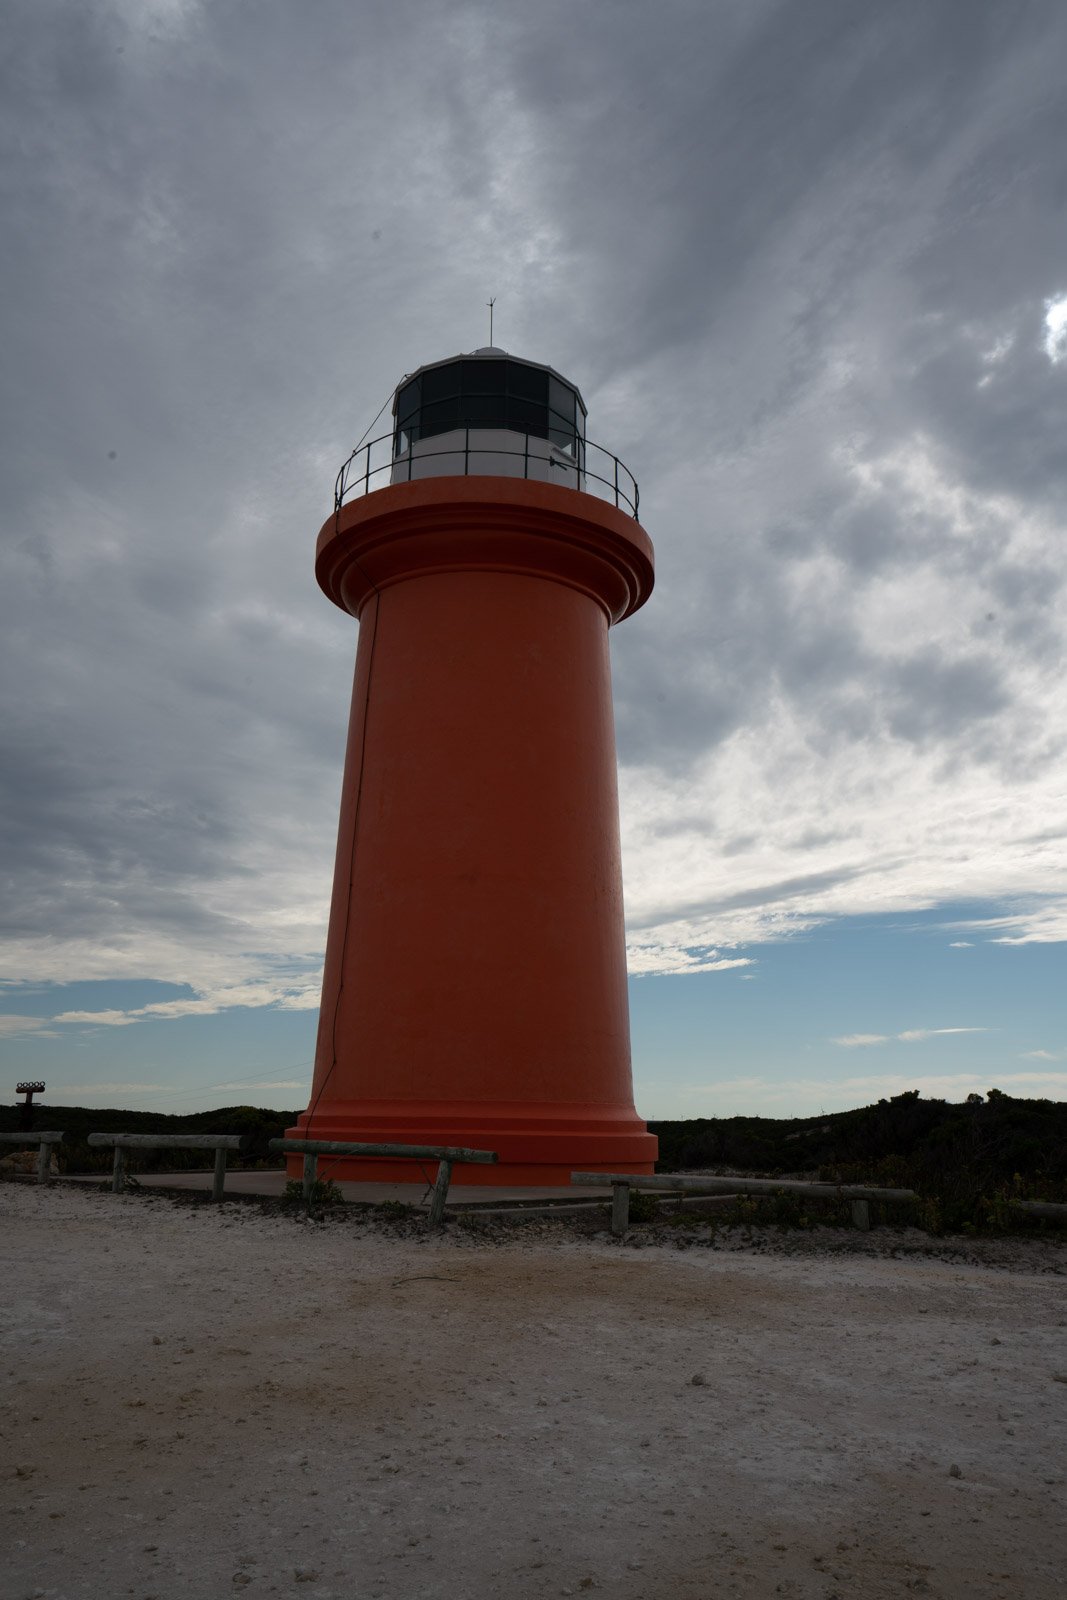
It depends on what you are shooting, how much sharpness and the depth of field you want, but generally, I will use between f/8 and f/11. I rarely use over f/14, as you can have barrel distortion and chromatic aberration at smaller apertures, or so I have been told.
Depth of field controls how much of your image is in focus from the foreground to the background. The smaller the aperture the larger the depth of field, so f/11 has more in focus through the image than f/5.6. Of course, if you want a starburst, you will need f/16 to f/22 for the most effect.
Shutter speeds
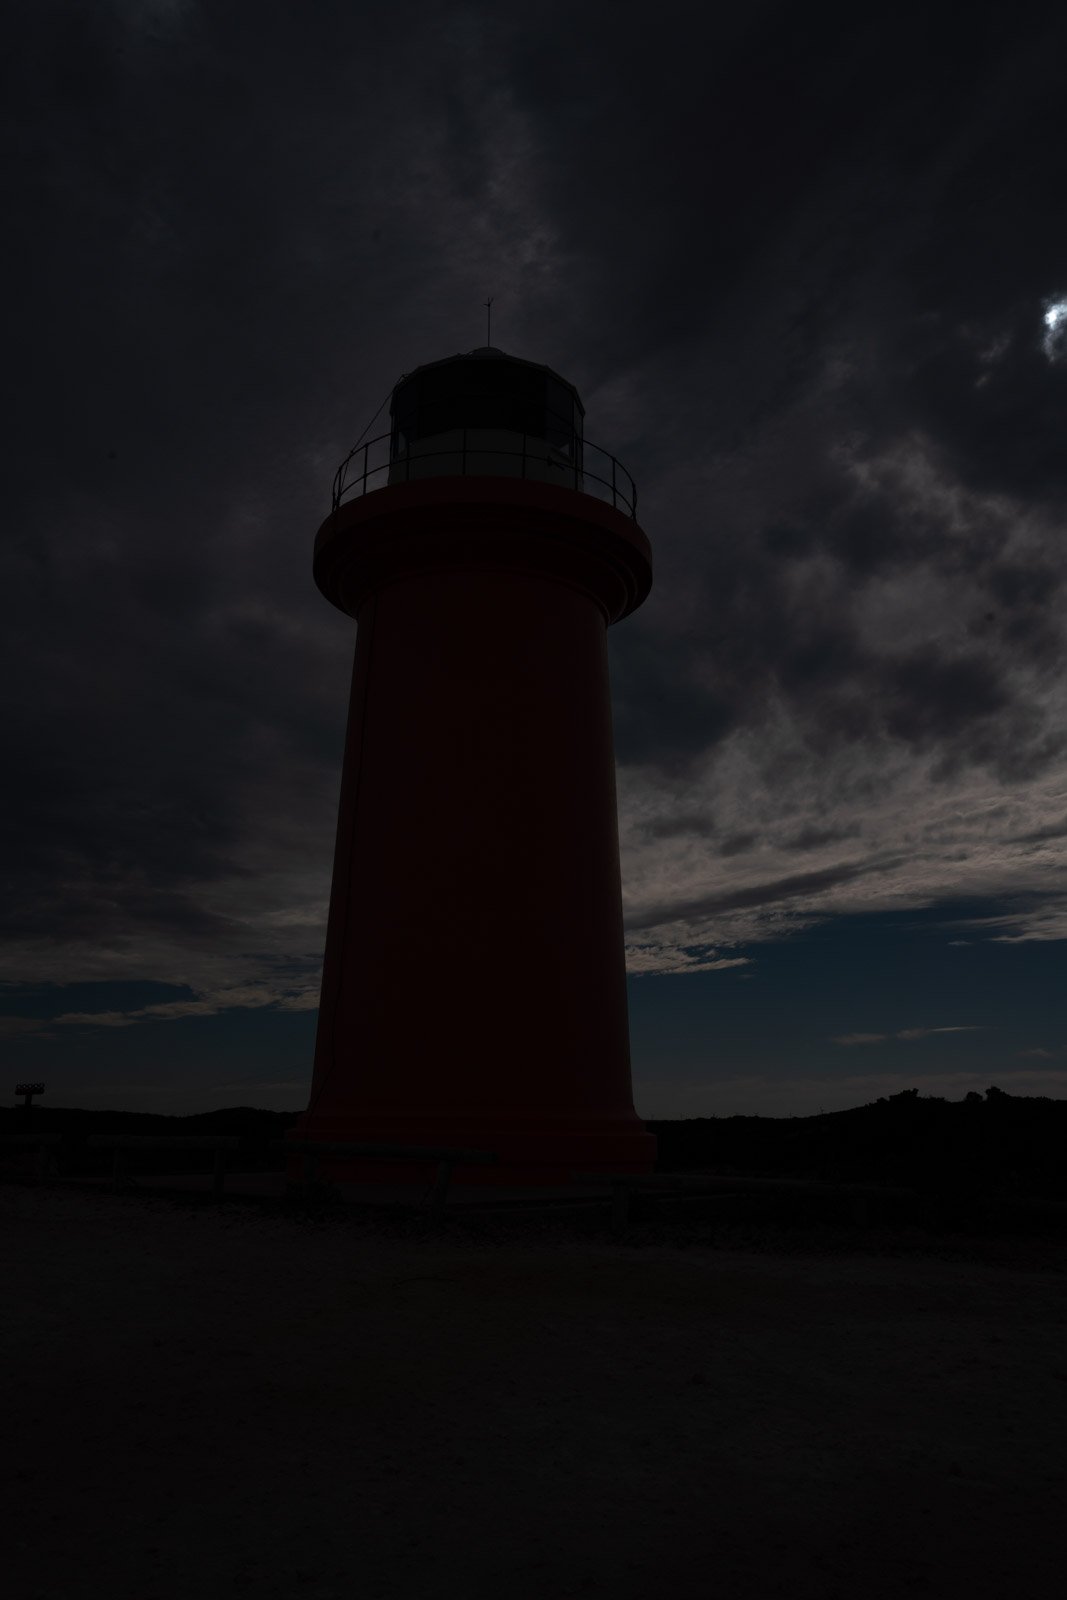
This will depend on if you want to freeze motion or capture it. Wanting to capture that silk effect on waves and waterfalls? You need roughly 1-2 seconds.
To flatten water at the beach, you’ll need at least 10 seconds. If you want to catch waves in motion, you’ll need something much faster than 1/250 seconds. Windy days and traffic lights probably require 15-30 seconds.
If you are taking a longer exposure than 1/80s, I’d recommend using a tripod to avoid camera shake.
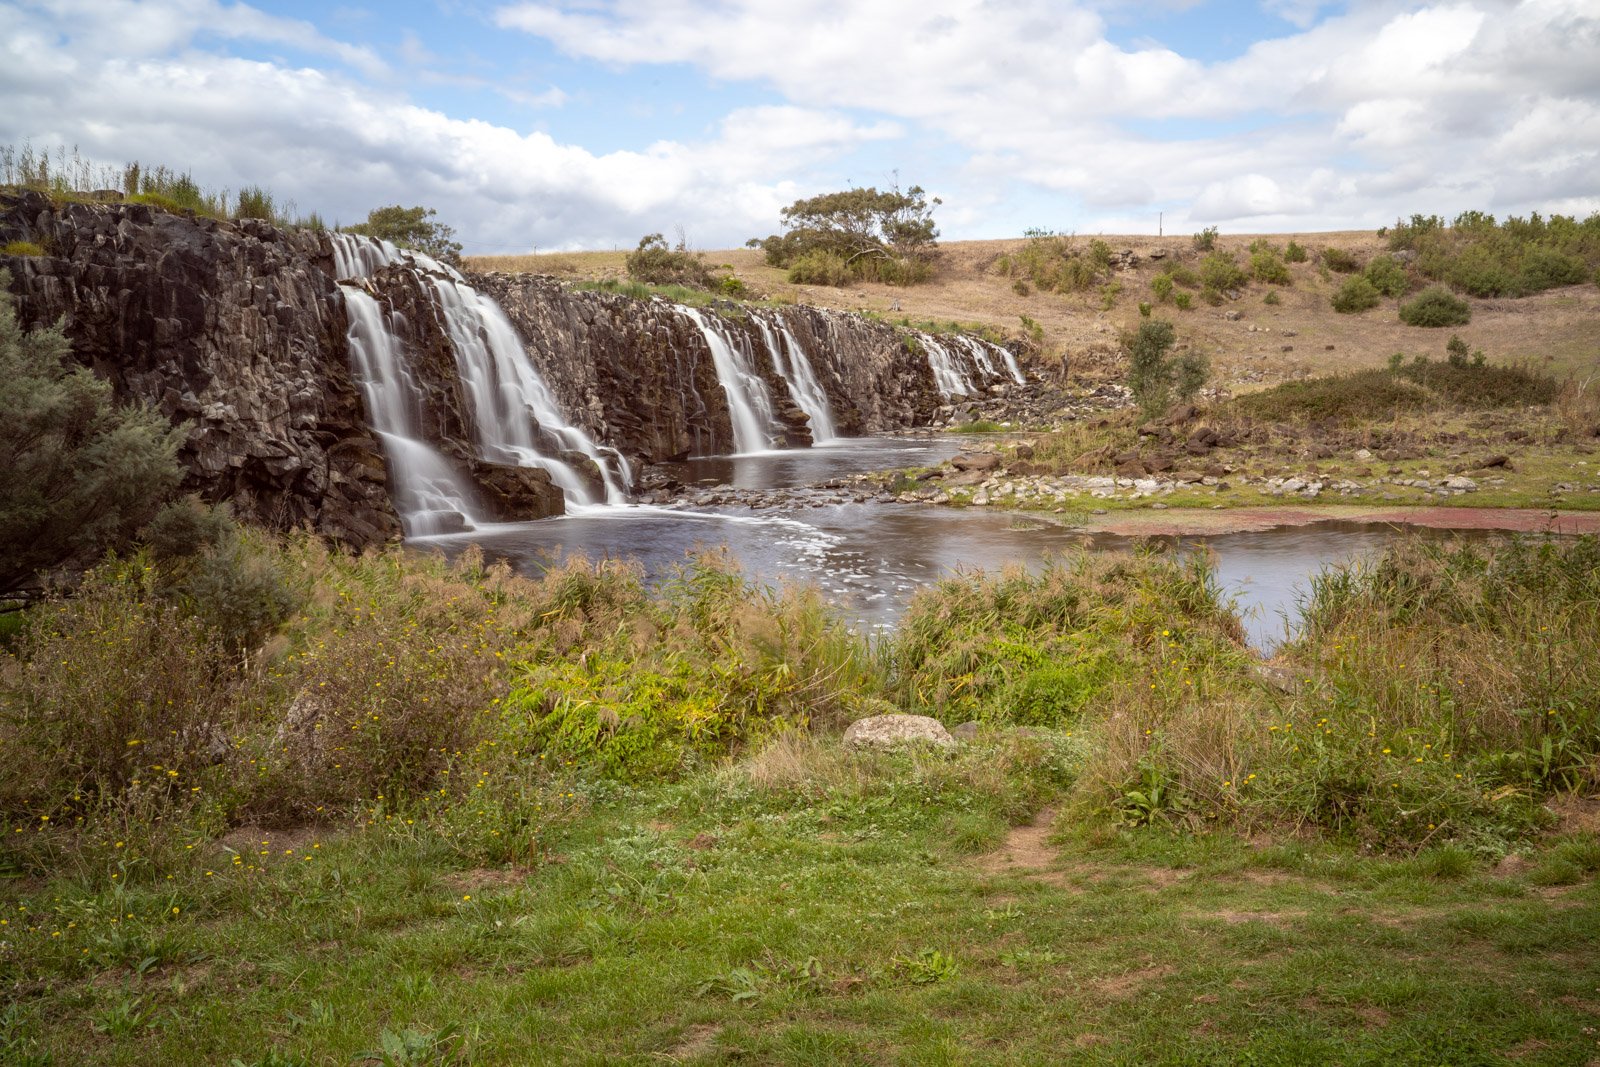
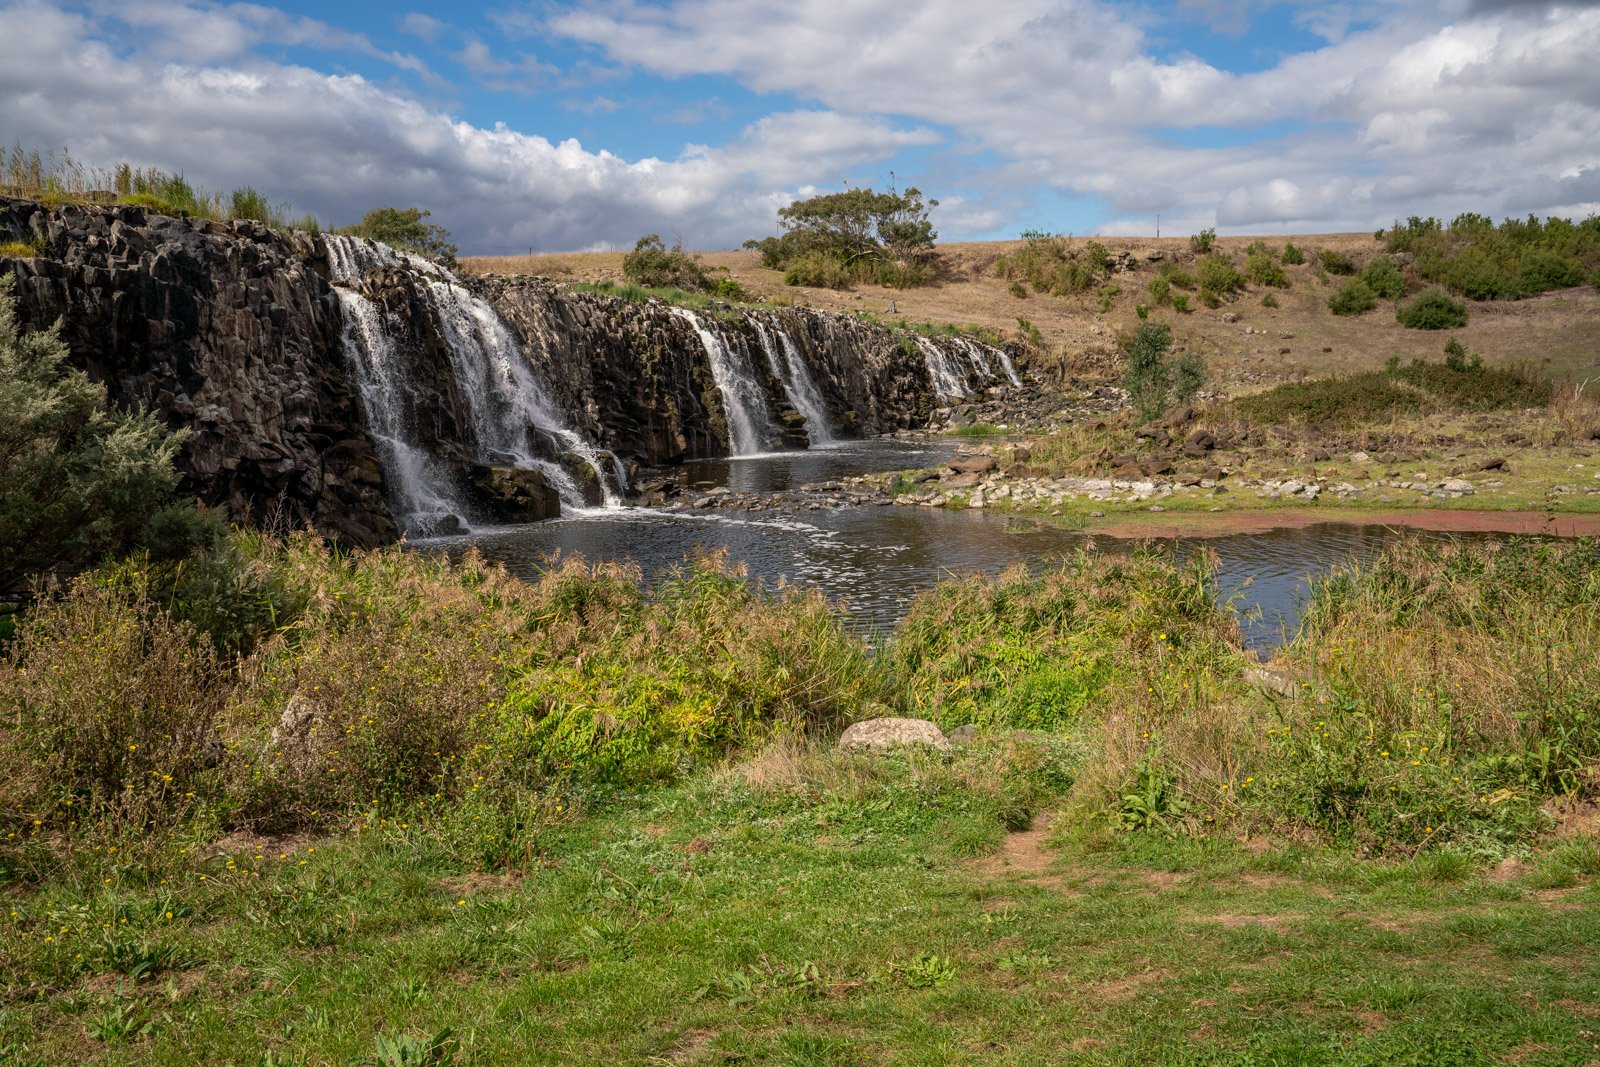
If you’re wanting a longer exposure, you can achieve that with a smaller f/stop or use a Neutral Density filter, as I did in the image below. Both were on a tripod, although keep in mind that Neutral Density filters can add a slight colour cast.
What ISO is best?
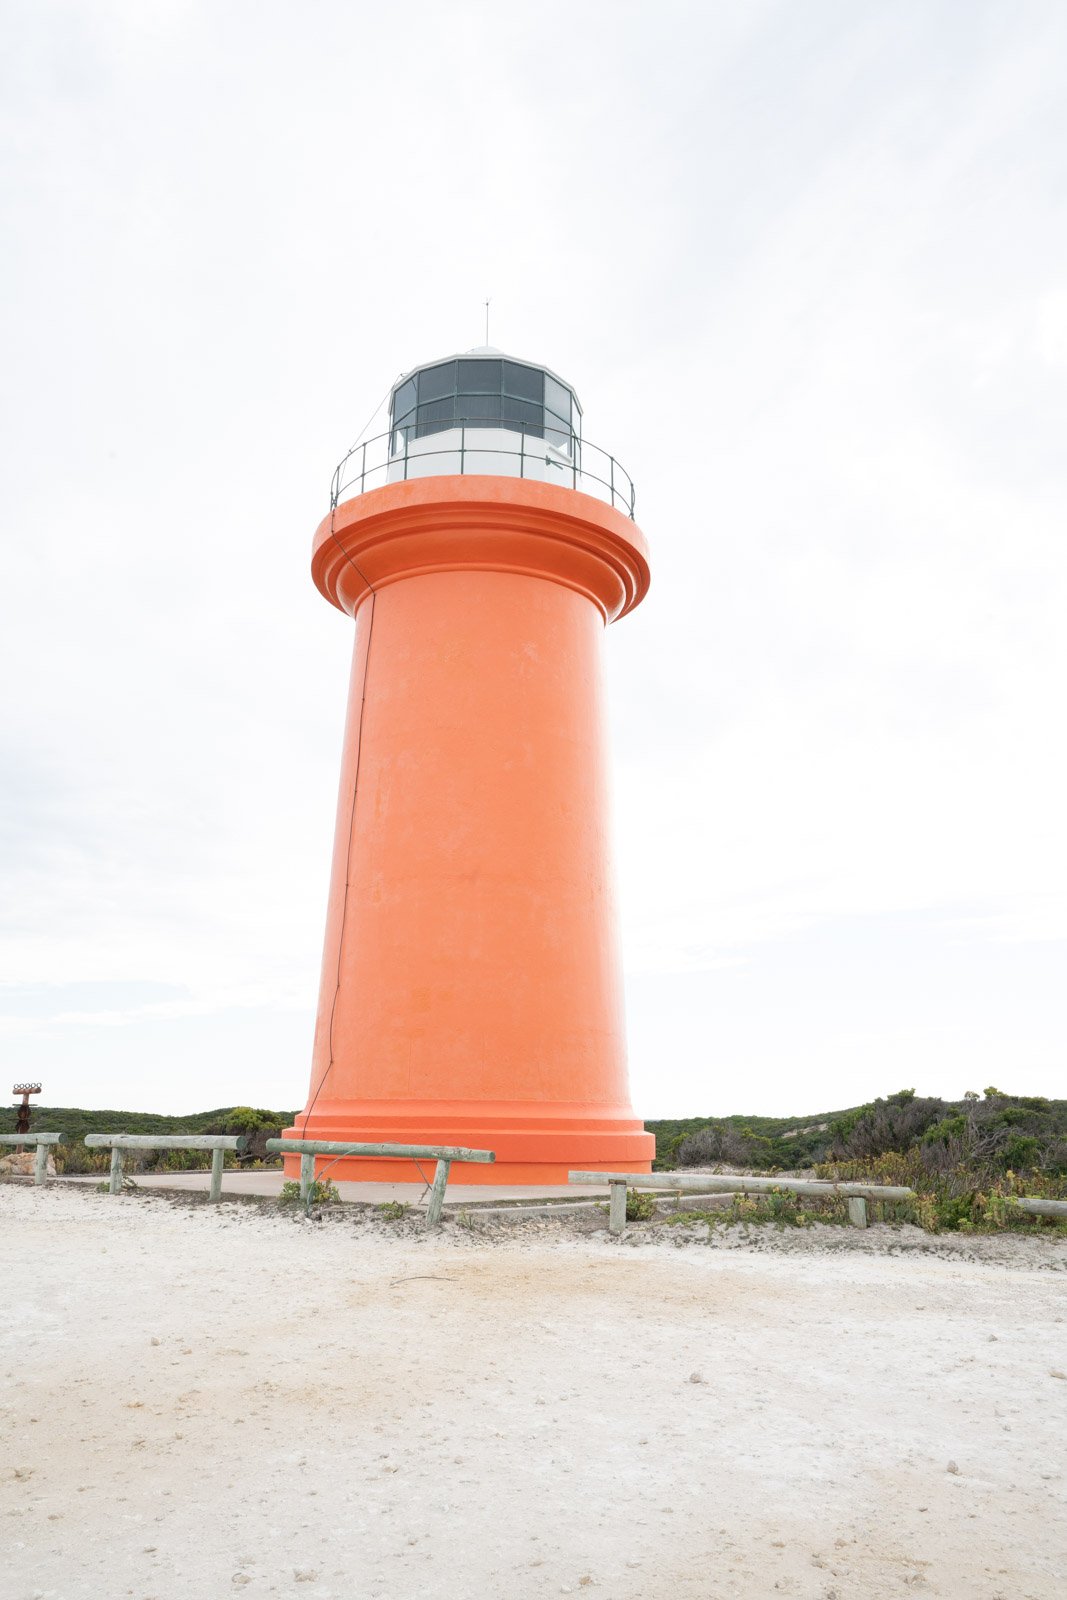
ISO determines how much light is getting through to your sensor. However, the higher the ISO, the more noise or grain will appear in your photos. Modern cameras can actually use a fairly high ISO without being detrimental to your images.
Generally speaking, anything under ISO 6400 should be fine, as long as the image is properly exposed. Underexposed images will have more noise than a high ISO, especially if you’re adding exposure in post-processing.
Manual or autofocus?
A bit contentious, but I must admit to mostly being an autofocus shooter these days. However, I DO get to choose where the focus point is, otherwise I’d be back to manual. I still prefer single point focus, and then select the main focal point for my image. Usually something in the middle ground.
There are times when switching over to manual focus is helpful. However, I always use back-button focusing.
Which white balance setting to use
I am a bit lazy on white balance. I set it on Auto and adjust it in post-processing. But there are alternatives available, for when you’re shooting in the shade, full sun, etc. The benefit here is that you’ll have the same white balance value across photographs.
I am sure that there are dozens of articles on this, but I am pretty happy with my output for landscapes.

Auto White Balance — set to 4800° Kelvin in Lightroom
JPEG or RAW?
Most modern cameras shoot in JPEG or RAW, but honestly I find JPEG a complete waste of time. I know some people find uses for it, but I haven’t yet.
RAW produces larger file sizes, but has so much more data and more information on the dynamic range of your images. That’s the drawcard — the data. I have more to play with in post-processing, especially recovering highlights and shadow details.
Image stabilization
The rule is basically to turn it on for hand-holding and turn it off for on tripod. My camera doesn’t seem to make much difference, to be honest. But I know with some cameras, it makes a difference. So better to play on the side of caution and turn it off for long exposures on a tripod.

Image stabilaztion on for easy hand held shots
Bracketing
I really like bracketing for landscapes, especially where it is really bright outside but your subject is in deep shadows. It’s very handy.
Many cameras, like my Sony, have several bracketing settings, so it is worth doing a tutorial or two on your make and model, as each is slightly different. I then blend them together with Lightroom or Capture One. It makes for some fabulous dynamic range in my images.
A few final words
Travel safe! I suggest traveling with a friend, but definitely get out there and explore our gorgeous fabulous world. Capture some truly amazing landscapes and perhaps share them with our Photofocus Community … I know we love seeing landscapes and travel shots from all over the world.

