
Creating Dual Tone and B&W images in Luminar Neo
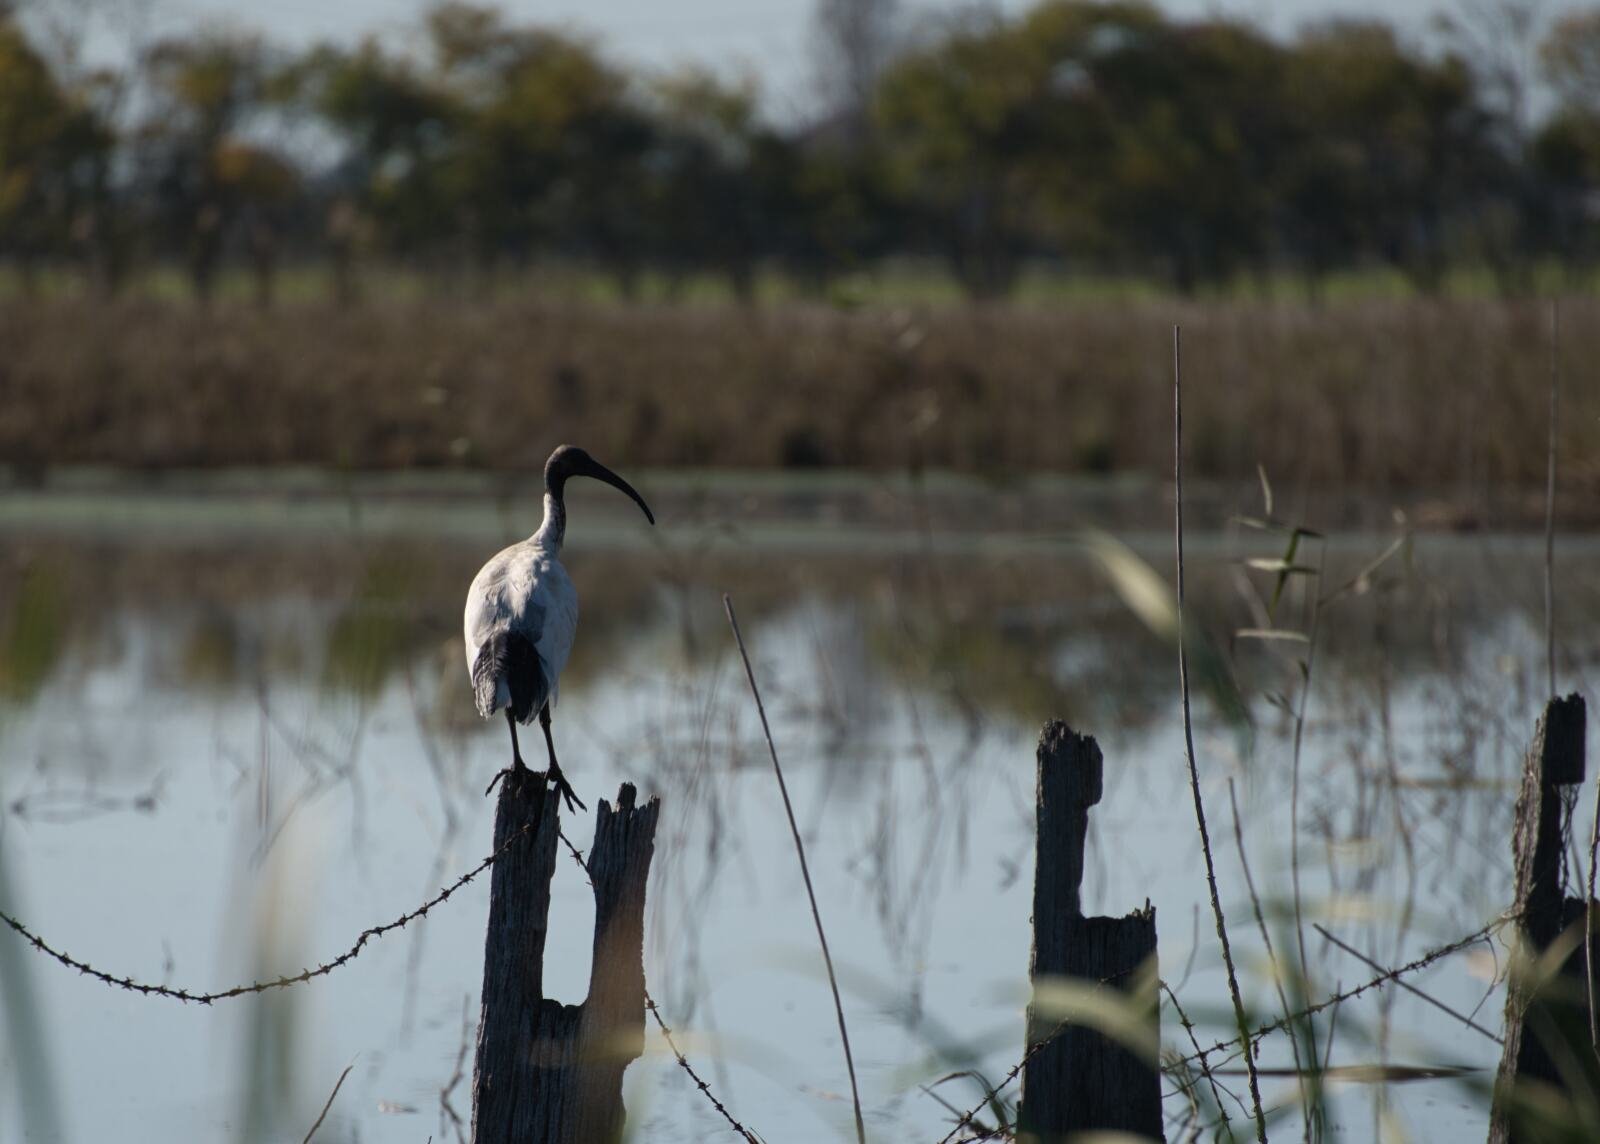
Sometimes you capture an image that is nice, but could do with a bit more pizazz, that’s when creating Dual Tone images in Luminar Neo can make a real statement. I’ll walk you through how to do it.
Start with some Super Contrast
I started by cropping my image, but that is purely optional, you can always crop at the end too. I then added some Super Contrast in my Highlights, Midtones and Shadows. Not too much, but you can use the Balance slider to even things out a touch as well.

Add some Super Contrast in Luminar Neo
Now the black & white conversion
You could try one of the presets, but I just went for the Black and White in the Essentials panel. Click Convert to B&W and make a black and white. You can still move the coloured sliders to make changes to the luminance (or brightness) of the different colour channels within your image. This can really make the details pop.

Use the Black and White panel in Luminar Neo
Add some Toning
This is purely optional but I quite like to add some Dual Toning to my black and white images. You will find Toning in the Creative Panel. I am partial to a touch of blue in the shadows and some yellow in the highlights. I think it gives a bit of a vintage vibe. Swap between the Shadows and Highlight sections, pull the saturation up a touch then adjust and slide the Hue slider for each section (Highlights and Shadows). You can then adjust the Saturation back down to the required amounts. It’s all personal choice here. Same as colours, you could go Monotone and have the same colour for Highlights and Shadows, like cyanotype (Cyan)or selenium (darker blues), try Red/Green or any other combination you like.

Use Toning in the Creative Panel
Finish it off
You could add the Super Contrast here if you prefer, or some Matte. Crop your image here if you haven’t already. A little Film Grain can also add that real Vintage touch and you’re done. Of course, if you just want to stick with the B&W conversion you can miss the Colour Toning step altogether.
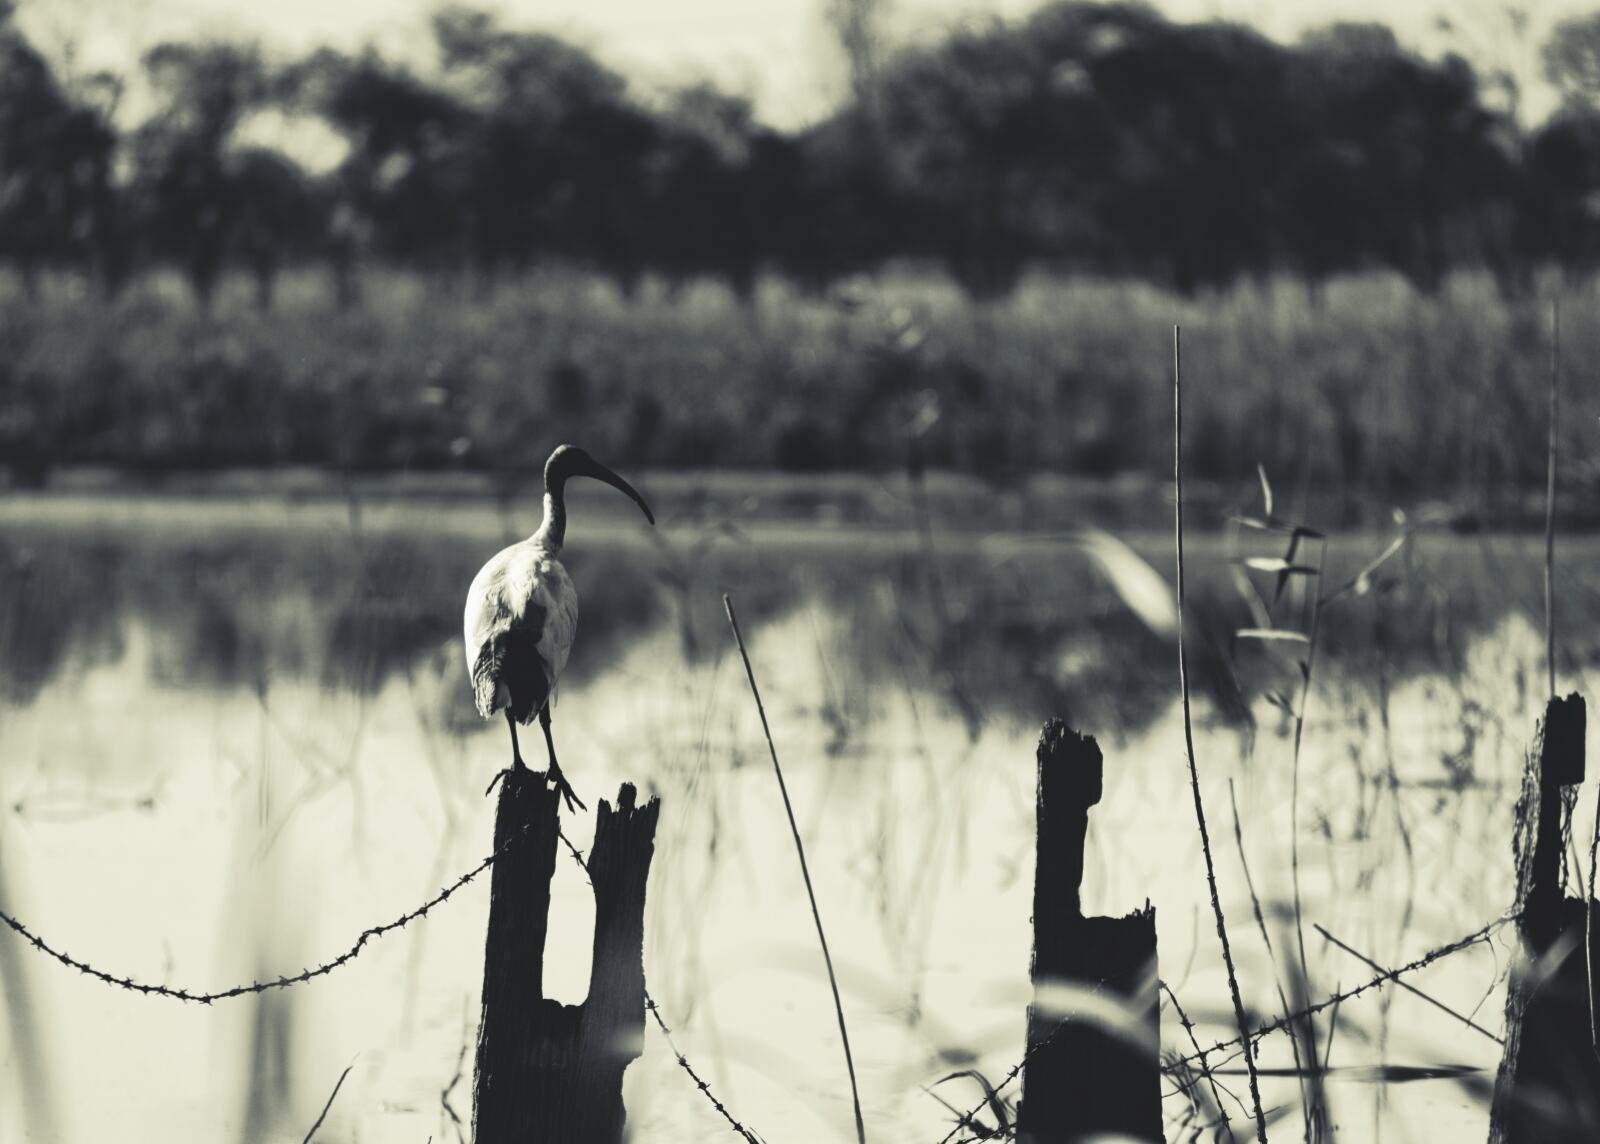
How much or how little you change is entirely up to you. have fun, play with a few sliders and see what you can create with Dual Tone and B&W images in Luminar Neo

