
Chasing Waterfalls With Long Exposure Photography
There’s something a little addictive about photographing waterfalls. Maybe it’s the sound of rushing water, the cool damp air, or that moment when you slow the shutter down and suddenly the chaos becomes smooth, silky movement. Either way, once you start experimenting with long exposure photography, it’s very hard to stop at just one.
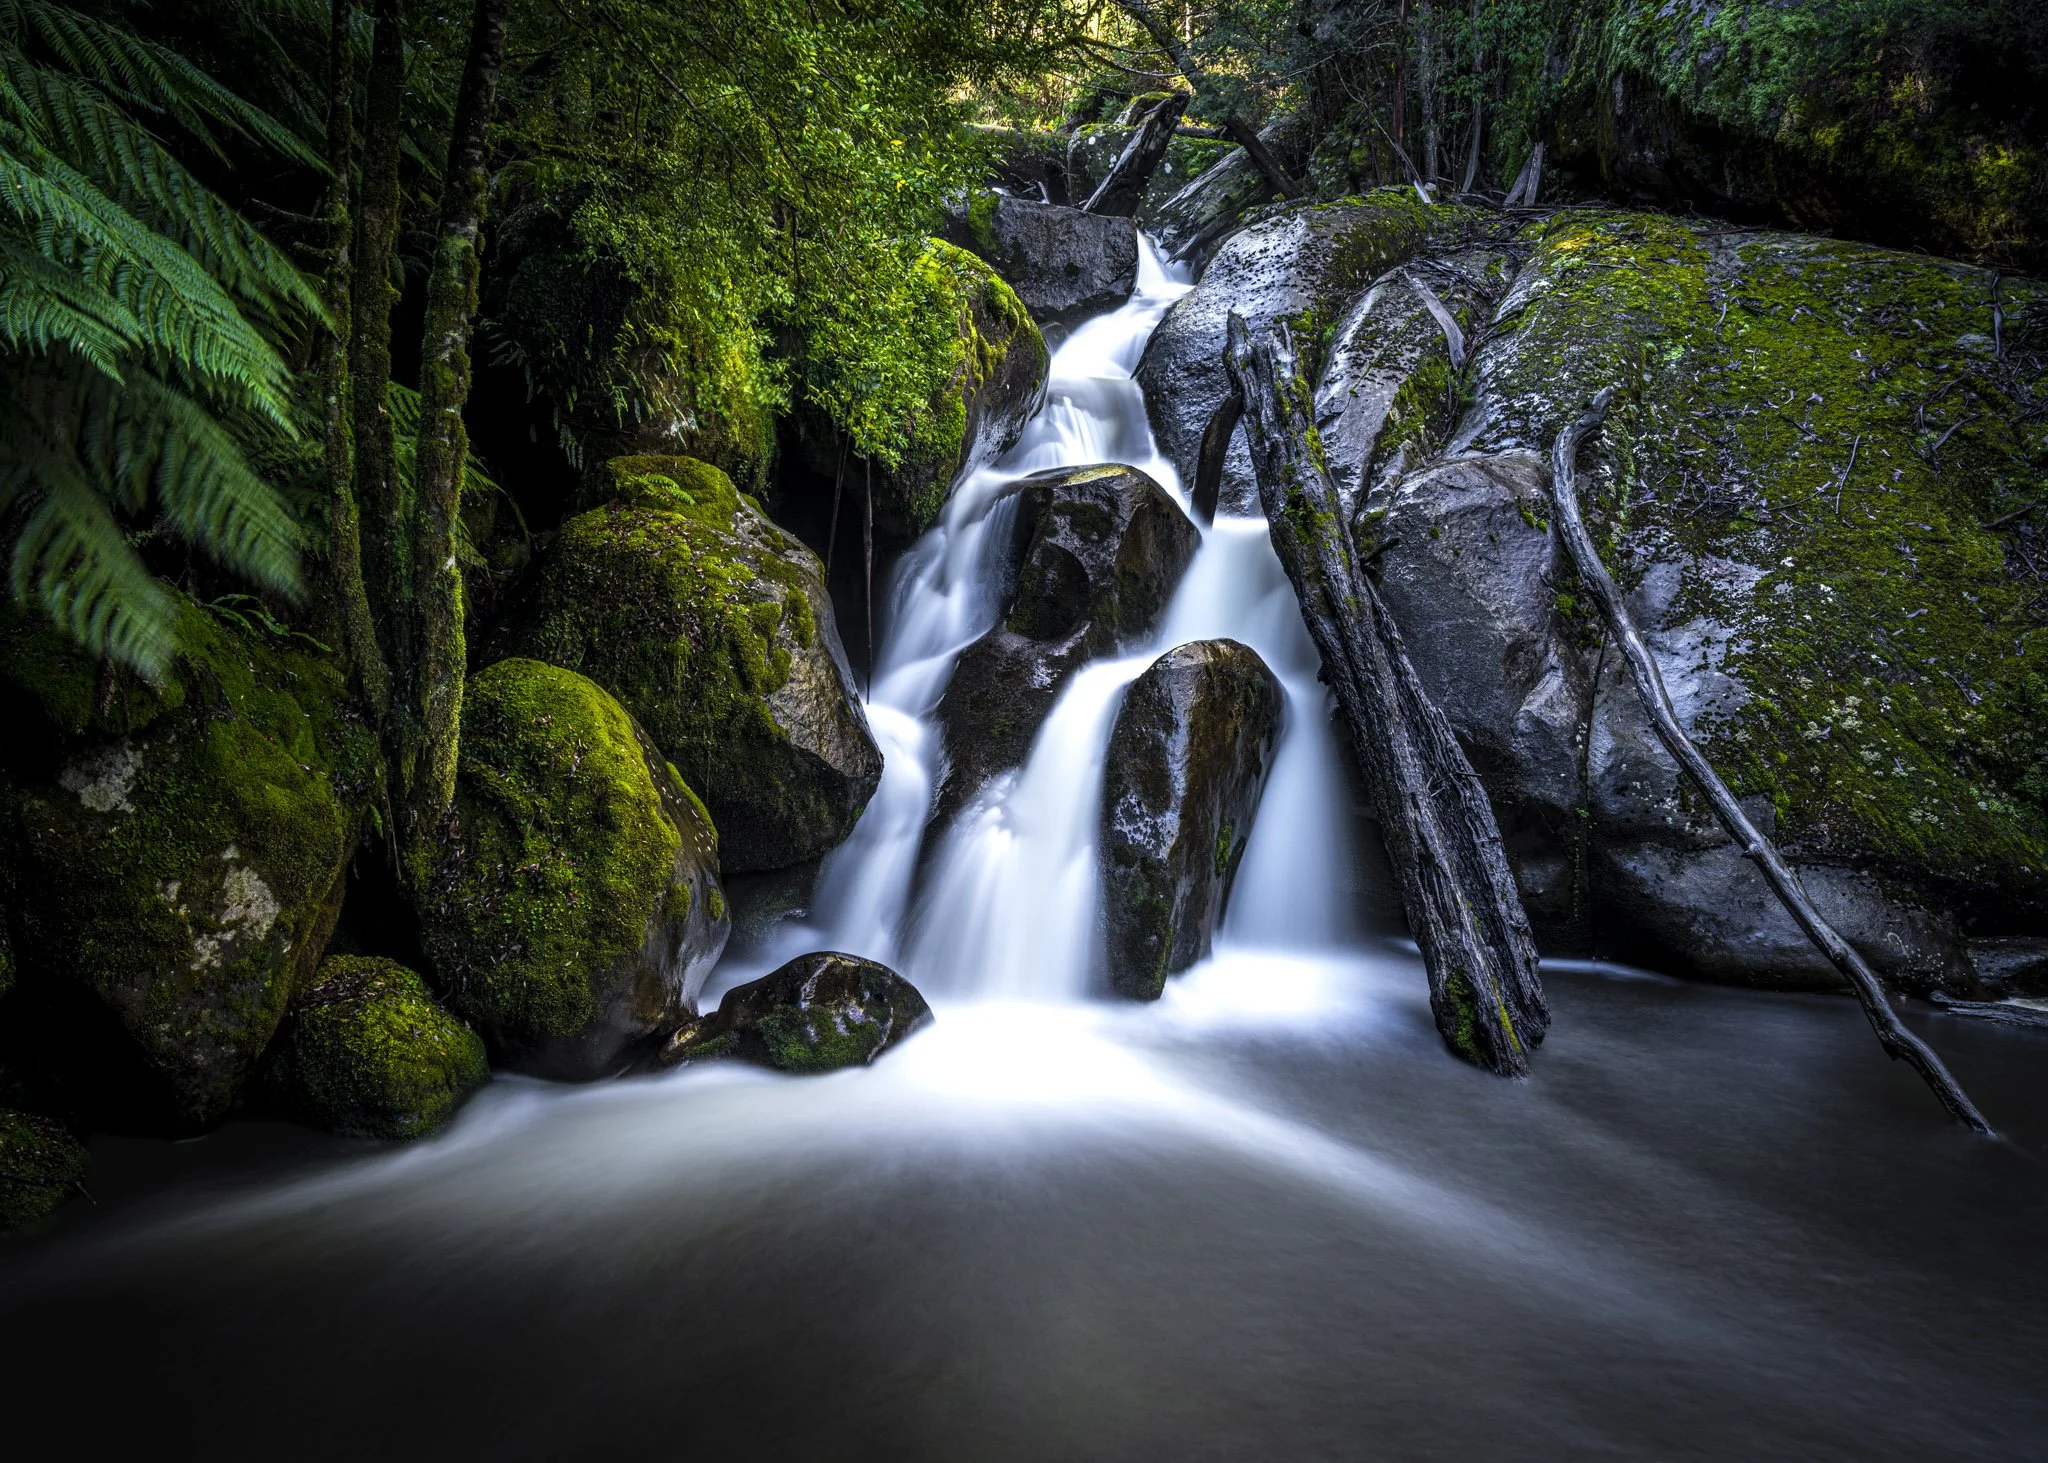
These images were captured deep in lush rainforest surroundings, surrounded by moss-covered boulders, ferns and filtered afternoon light. Beautiful to stand in front of, but honestly? Also a tricky scene to photograph well.
Waterfalls can fool your camera very quickly. Bright water, dark rocks, deep shadows and patches of sunlight all competing for attention. It’s one of those scenes where learning to control light becomes far more important than simply pressing the shutter.
That’s where ND filters come in.
What Is an ND Filter?
An ND (Neutral Density) filter is basically sunglasses for your lens. It reduces the amount of light entering the camera, allowing you to use slower shutter speeds even during daylight hours.
Without an ND filter, your waterfall photo might look sharp and frozen. With one, you can stretch time and create that soft flowing water effect that gives landscapes a more cinematic and atmospheric feel.
For these images I used the K&F Concept Magnetic ND filters, and honestly, the magnetic system makes life ridiculously easy when shooting outdoors. But you could also use a Variable ND Filter like pictured below.
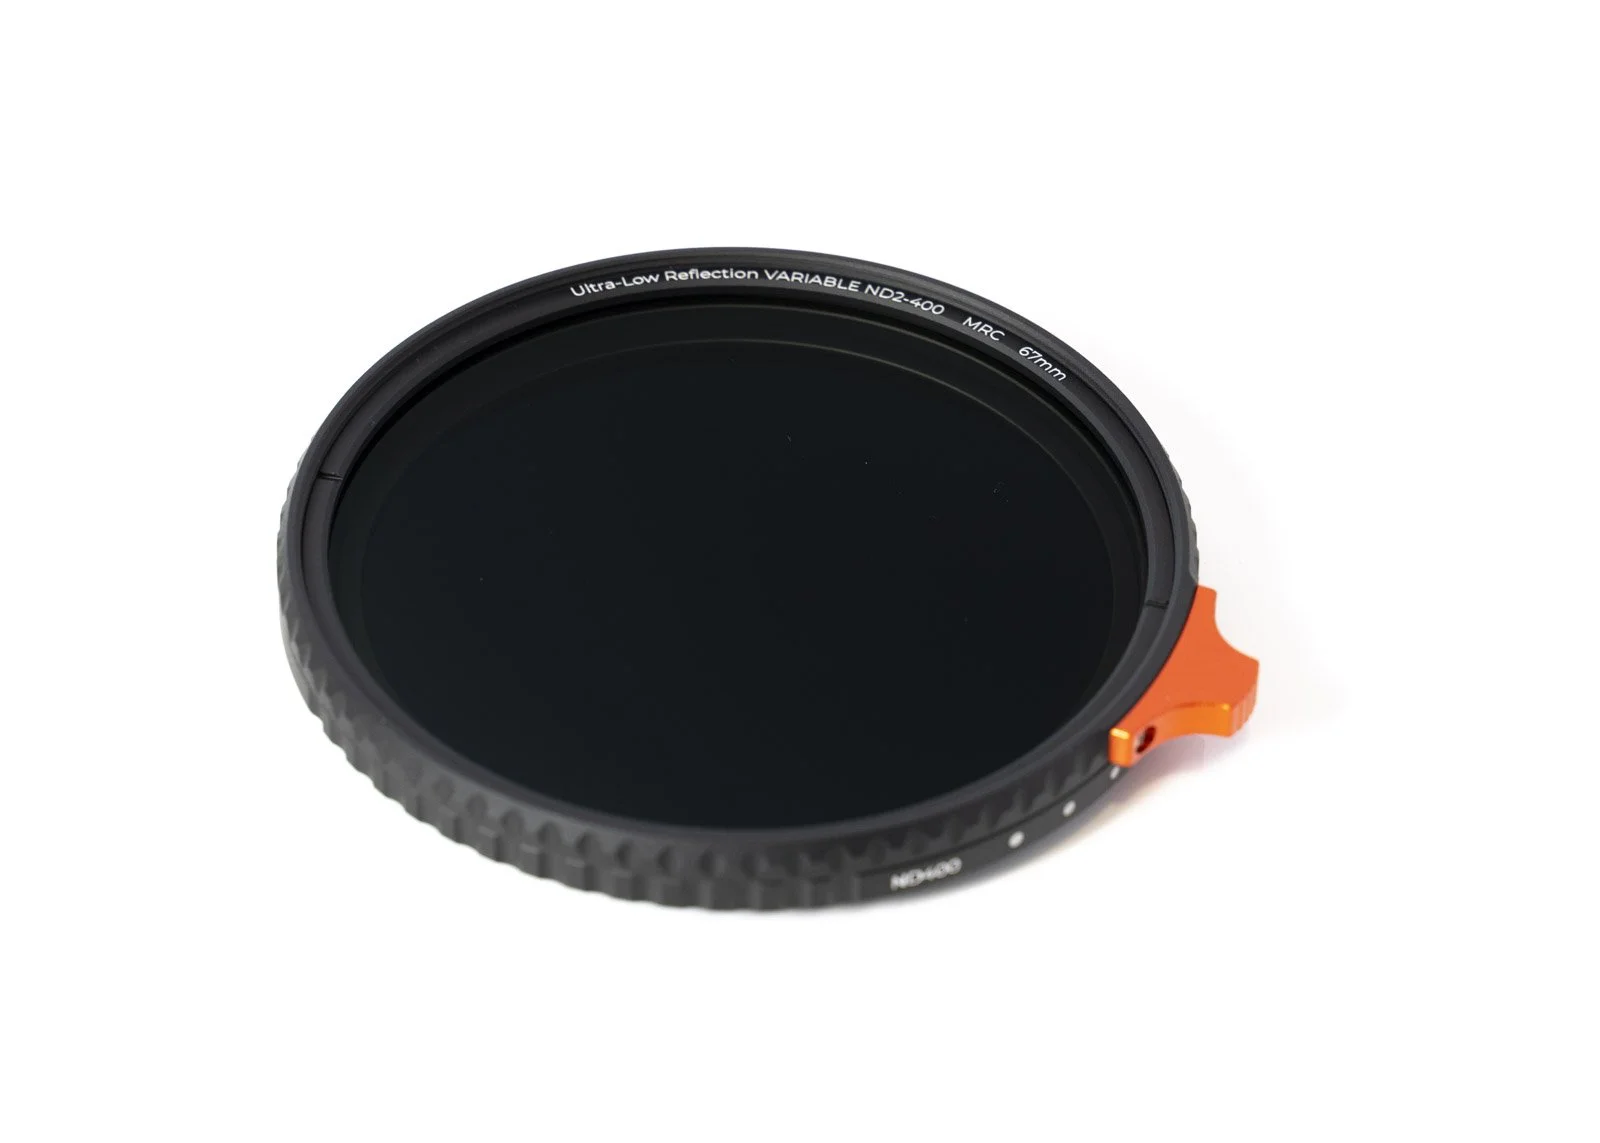
K&F CONCEPT Variable ND Filter
No screwing filters on and off, once the main adaptor is screwed on.
No fumbling around near water.
No cross-threading while standing on slippery rocks
Just snap them on magnetically and start shooting.
Why Magnetic Filters Are Actually Useful
I do prefer the magnetic ones. When shooting waterfalls, conditions constantly change. Light shifts through trees, clouds move overhead and sometimes you need to swap between shooting still water detail and long exposures quickly.
The magnetic setup lets you work faster and experiment more. You can swap out different strengths of filters. You can use multiple filters at once.
The Big Advantage of Stacking Magnetic ND Filters
One thing I really love about the K&F Concept magnetic ND filters is the ability to stack multiple filters together quickly and easily.
This becomes incredibly useful when the light is still fairly bright, especially around midday waterfalls or streams where even a single ND filter may not be enough to achieve those really long shutter speeds.
Instead of fighting with exposure settings, you can simply stack another magnetic filter on top and instantly reduce more light entering the lens. Fast, simple and far less frustrating than screwing multiple filters together while balancing on damp rocks beside rushing water.
For photographers chasing ultra-long exposures, this flexibility is fantastic. Want silky water at 1-2 seconds? Easy. Want a dreamy 20-30 second exposure that smooths everything right out? Stack another filter and go for it.
The Downside: Colour Casts
Like many ND filters, especially when stacking multiple together, you can start introducing a slight colour cast into the image. In this case, the K&F filters can sometimes lean toward a cooler blue tone.
Now personally, I don’t always hate that look for waterfalls and rainforest scenes. Sometimes the cooler tones actually enhance the mood and atmosphere quite nicely.
But if colour accuracy is critical, it’s something to watch for. The good news is it’s usually very easy to correct in Lightroom or Camera Raw with a simple white balance adjustment. Shoot RAW and you’ll have far more flexibility to fine-tune the colours later.
That said, this is also where photographers need to avoid falling into the trap of gear perfectionism.
Some people spend so much time obsessing over tiny colour shifts they forget to actually enjoy making photographs.
I’d rather come home with a strong image and a slight blue tint than no image at all because I was busy pixel peeping in the rainforest.
The Settings Behind These Images
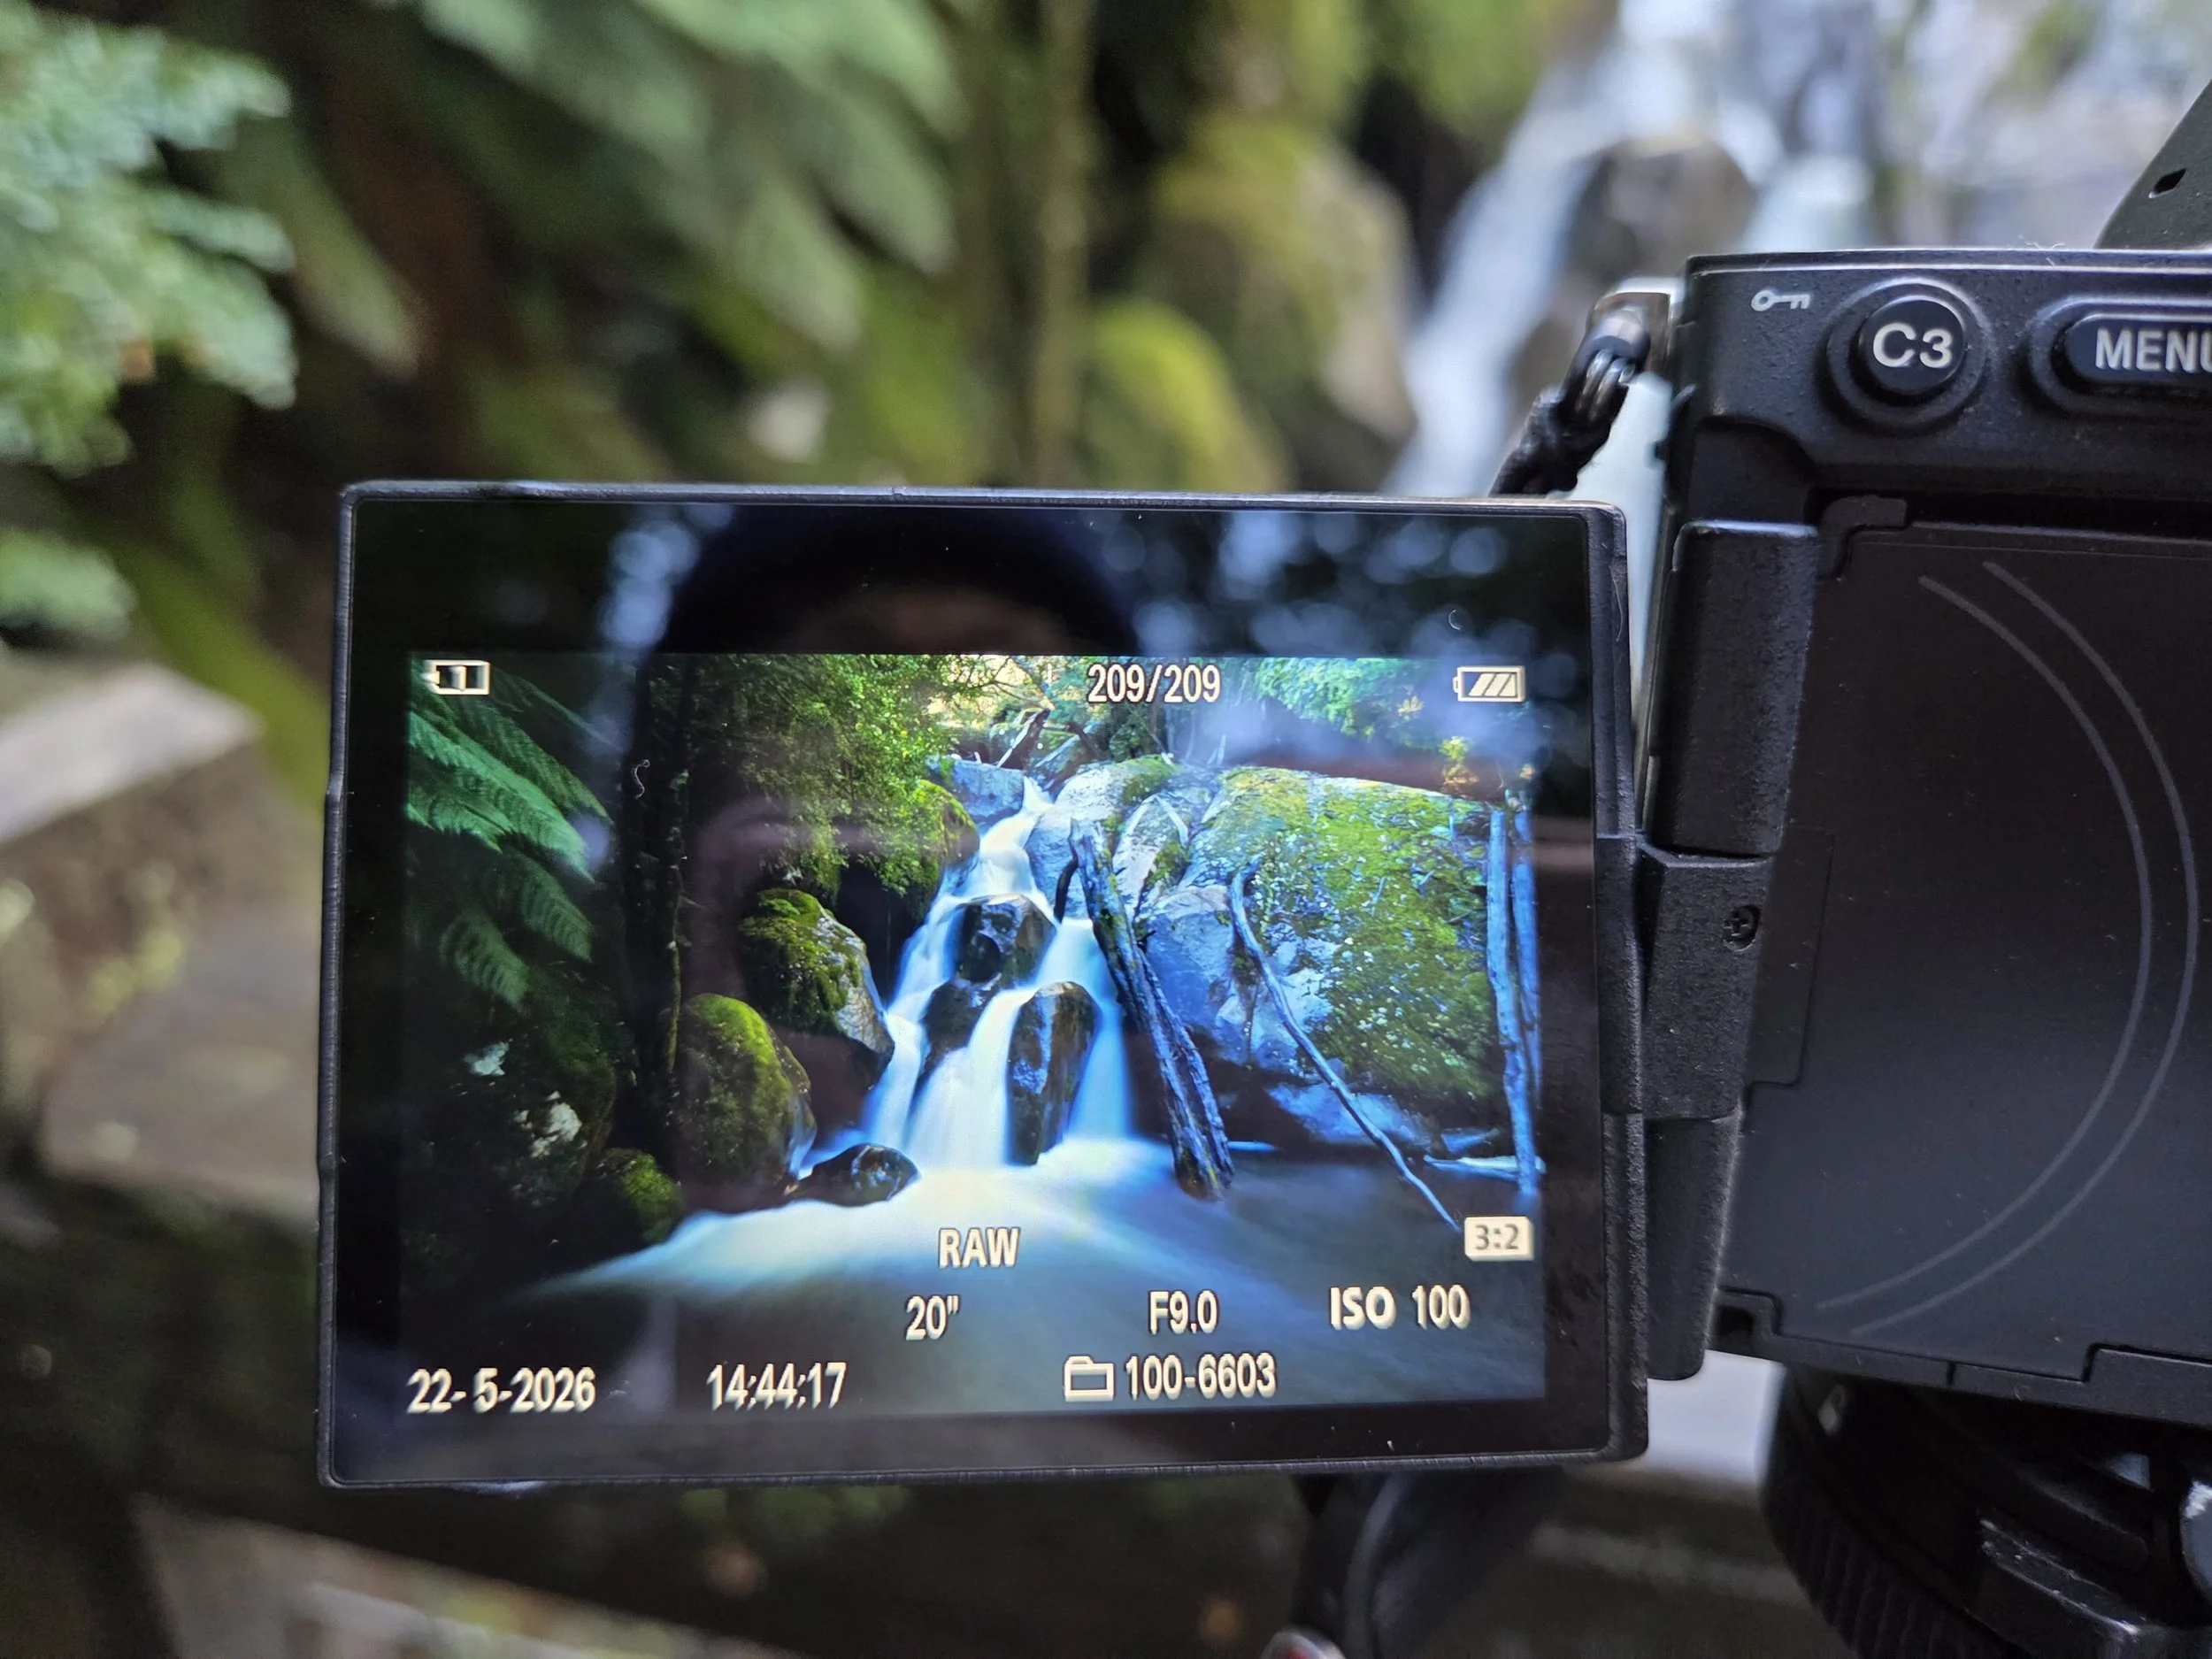
The shots here was captured on Sony A7RV and Zeiss 16-35mm wide-angle lens at:
30 seconds (as much as 45 seconds in others)
f/9 - f/11
ISO 100
K&F CONCEPT ND8 and ND64 filters
That long shutter speed allowed the water to soften beautifully while still keeping texture in the surrounding rocks and foliage.
The challenge with long exposures in forests is balancing movement with detail. Go too long and the entire image can start looking muddy or overly dreamy. Go too short and you lose that flowing motion completely. Also watch out for wind, your water might look silky smooth but too much wind can make all your surrounding foliage blurry.
A lot of beginners assume there’s one “correct” shutter speed for waterfalls.
There isn’t.
A raging waterfall and a gentle rainforest stream need completely different approaches.
Sometimes 1 second works.
Sometimes 5 seconds works.
Sometimes 20 seconds gives you the mood you want.
Sometimes 45 seconds or longer is magic and you need to go into bulb mode.
The real skill is learning to match the shutter speed to the feeling of the scene.
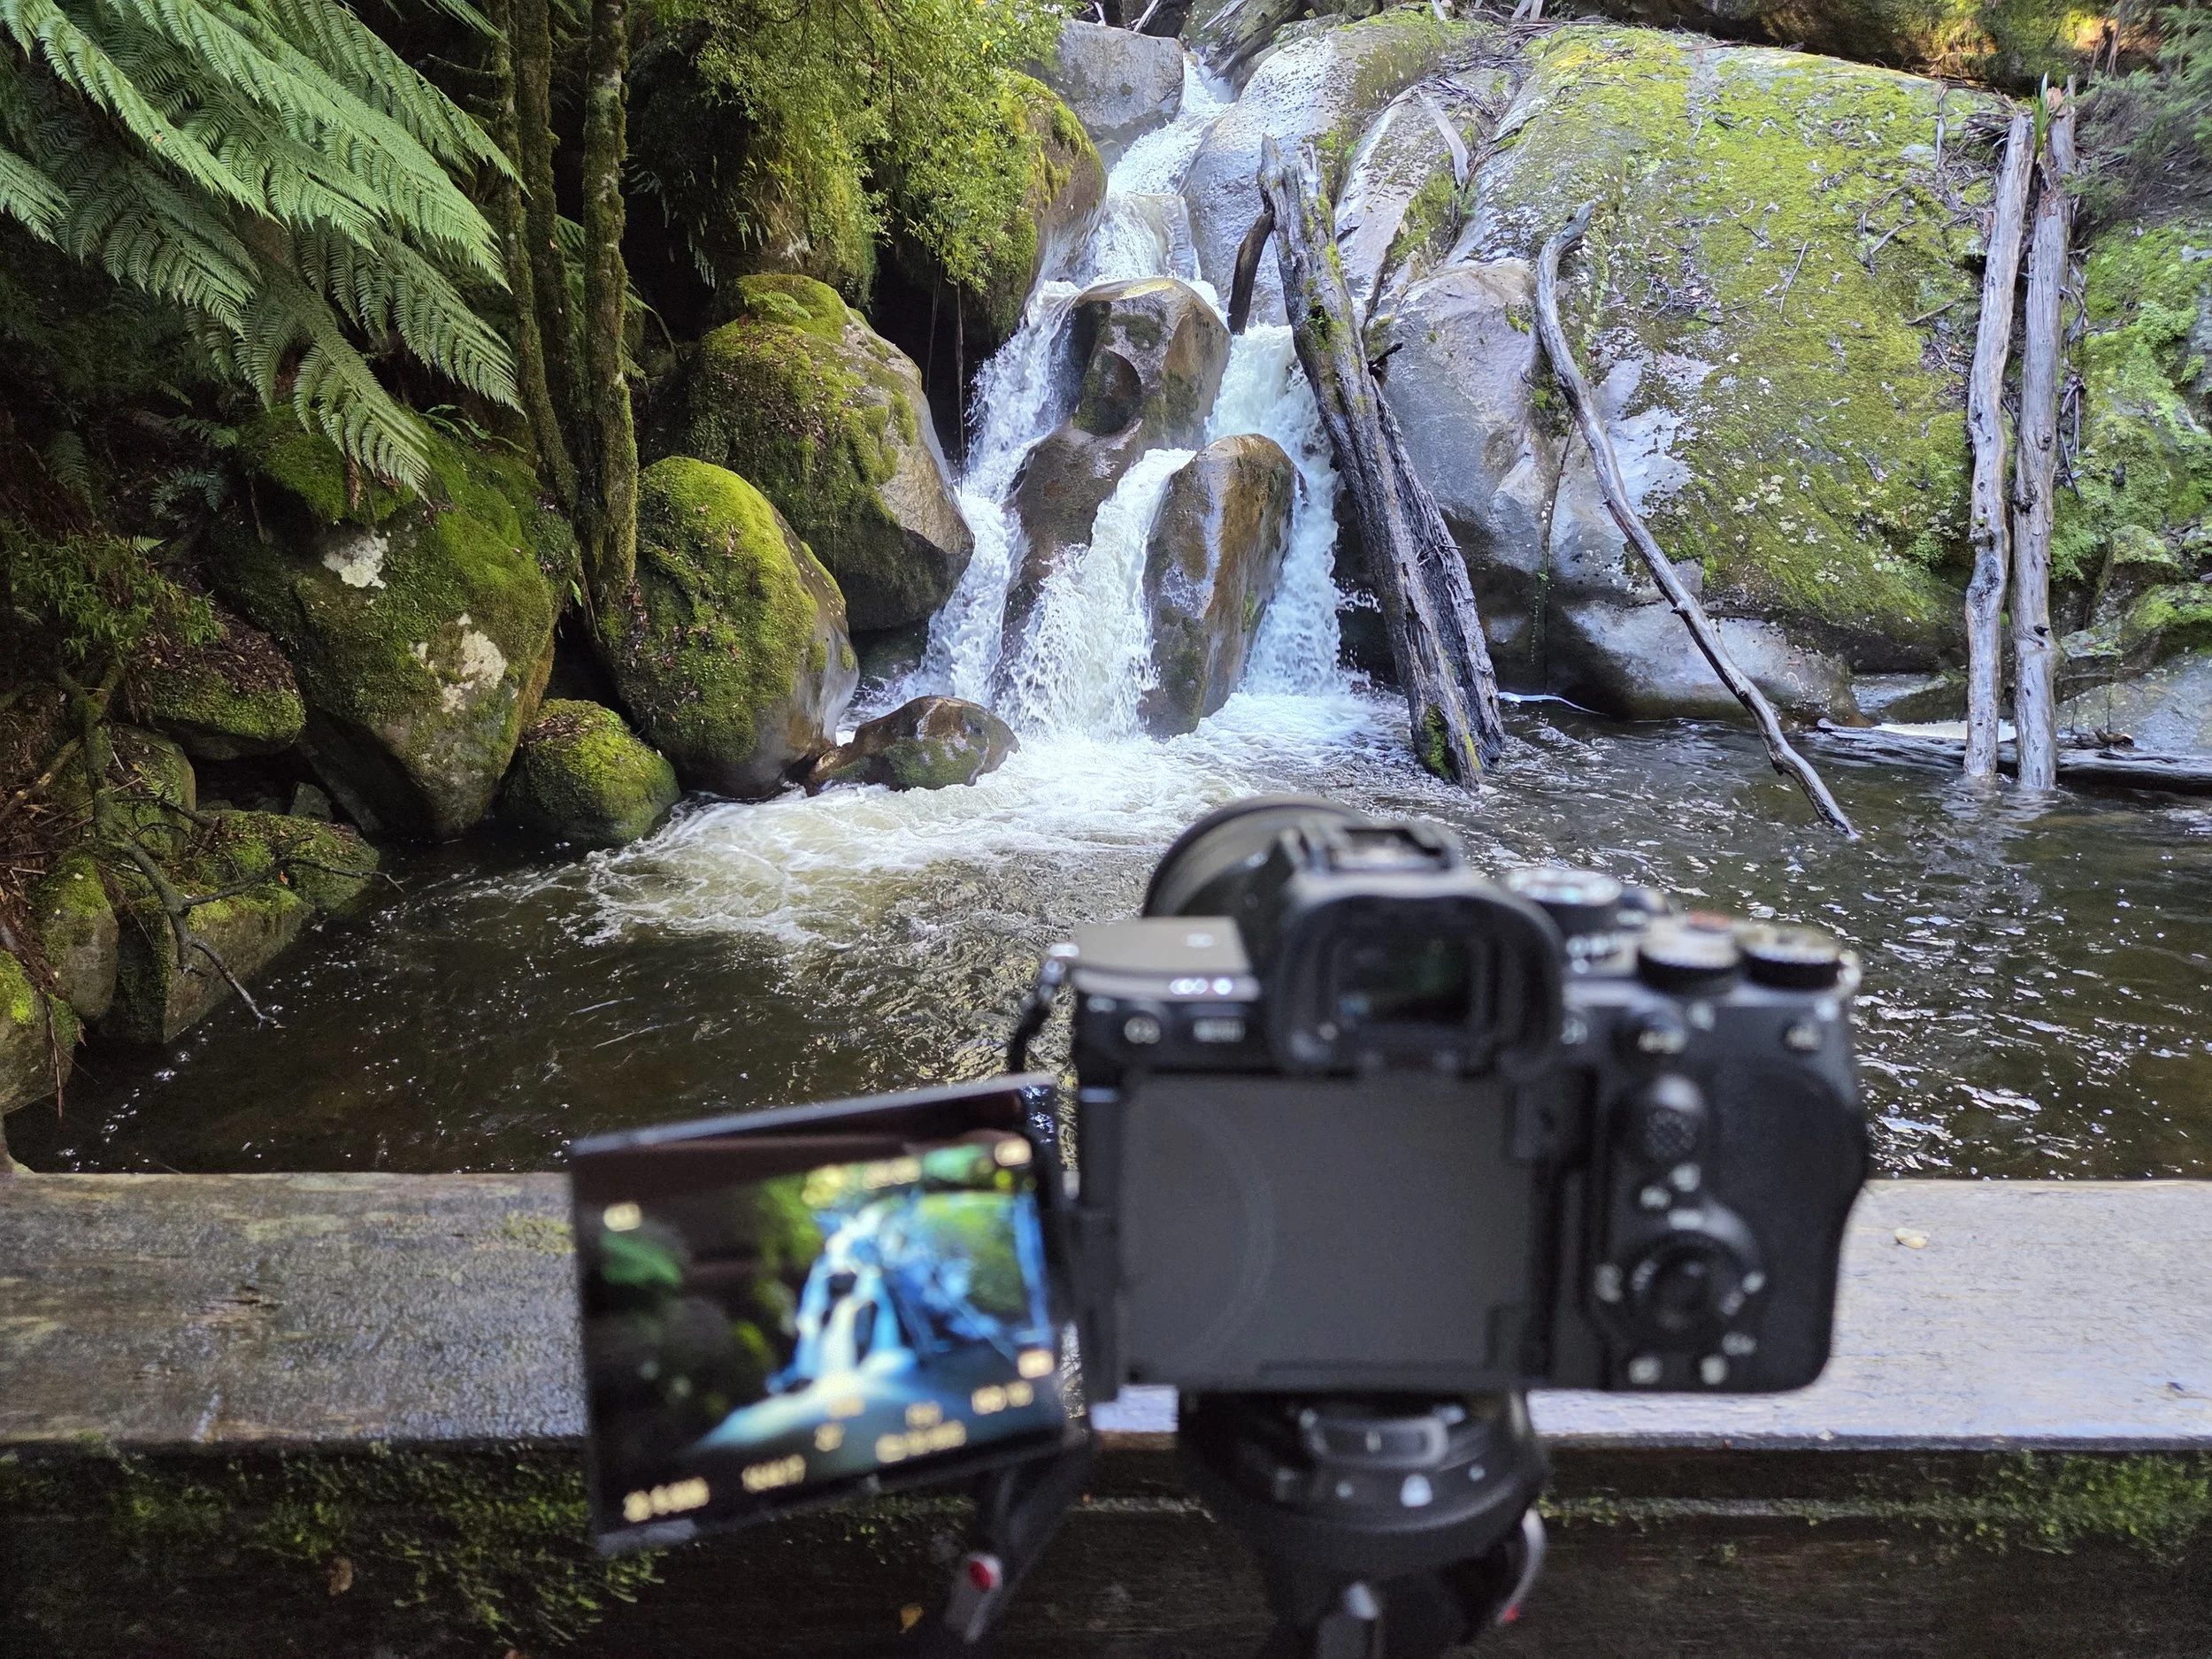
Don’t Forget the Tripod Basics
One last thing that’s easy to overlook, if you’re not using a remote shutter release, switch your camera to a 2-second timer.
It’s such a simple trick, but it makes a huge difference with long exposures.
Even the tiny vibration caused by physically pressing the shutter button can introduce slight camera shake, especially during multi-second exposures. You may not notice it immediately on the back screen, but once you zoom in later, those beautiful crisp rocks and fine details can suddenly look just a little soft.
The 2-second timer gives the camera enough time to completely settle before the exposure starts.
It’s one of those tiny landscape photography habits that feels almost boring… right up until it saves a shot.
Don’t Just Photograph the Water
One mistake photographers often make with waterfalls is treating the water as the only subject.
But look closely at these scenes.
The mossy rocks.
The leading lines from fallen branches.
The deep greens of the ferns.
The pockets of light filtering through the trees.
Those elements are what give the image atmosphere and depth. The water is only part of the story.
This is where composition matters just as much as the filter.
In fact, I’d argue a boring composition with silky water is still… well… boring. Harsh, but true.
Long exposure doesn’t magically fix weak framing.
Tips for Better Waterfall Long Exposures
Use a tripod
Obvious, yes. But also essential. Twenty-second handheld exposures are generally called “abstract regret.”
Watch the highlights
Water blows out very easily. Slightly underexpose if needed and recover shadows later.
Try different shutter speeds
Don’t shoot one frame and leave. Experiment. Faster water often benefits from shorter exposures than people expect.
Use manual focus if autofocus struggles
Waterfalls and dark forests can confuse autofocus systems, especially in low light.
Shoot RAW
Especially when using ND filters. It gives you far more flexibility to correct colour casts and recover tonal detail later.
Look beyond the obvious composition
Everyone shoots the main waterfall. Look for details, reflections, foreground rocks or tighter crops.
Slow down
Ironically, long exposure photography works best when the photographer slows down too.
Why I Still Love Shooting Landscapes This Way
Even after years of photography, long exposure work still feels a bit magical. You’re capturing something the human eye doesn’t naturally see. Time gets stretched. Water becomes texture instead of motion.
And honestly, standing quietly beside a waterfall while waiting for a 20-second exposure is probably healthier than doom-scrolling social media for another hour.
Probably.
The K&F Concept magnetic ND filters made the process fast and enjoyable, especially when moving between compositions in wet conditions. They’ve become one of those pieces of gear that quietly stays in the bag because they simply make shooting easier.
And gear that removes friction from the creative process? That’s usually the gear worth keeping.


Don’t forget to stay water safe
Don’t forget to stay safe around the water, wear solid walking boots, shoot with a ‘buddy’ and don’t end up with yourself or your gear in the water!