What to Pack for a Macro Photography Adventure
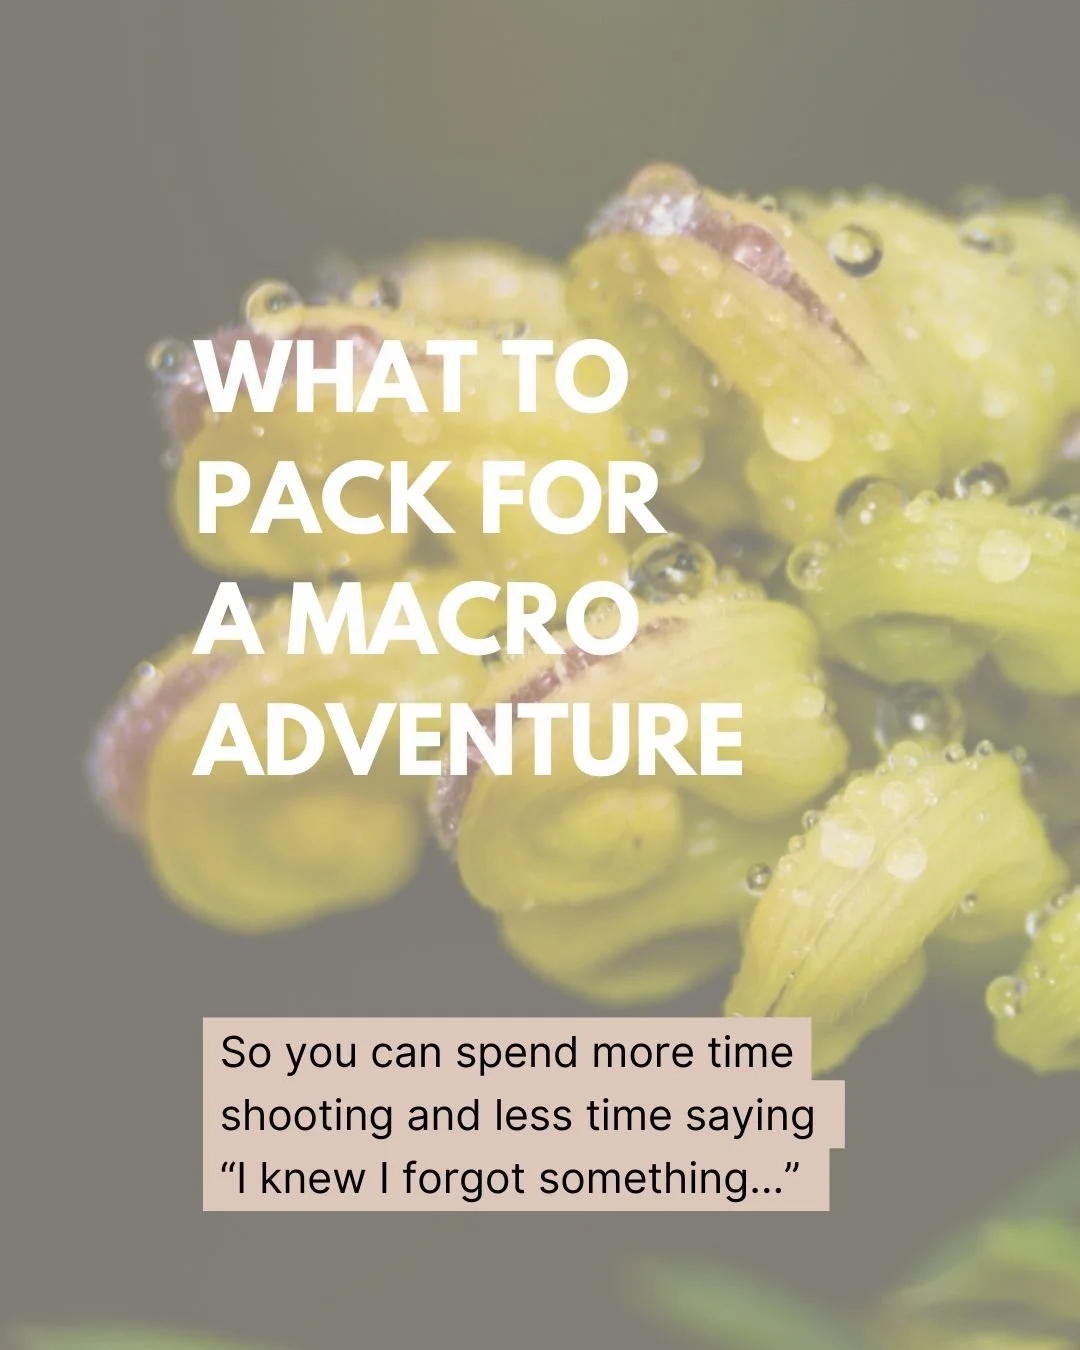
You don’t need a bag full of expensive specialist gear to head outside and explore the wonderful world of macro and close-up photography.
In fact, sometimes I think having less gear makes the whole experience more enjoyable.
Recently I headed into my own backyard for a little macro adventure. Nothing particularly exotic, no grand location and, perhaps surprisingly, I didn’t even take my dedicated macro lens.
Just a camera, a telephoto lens, some extension tubes, a small flash and diffuser, and one very sophisticated piece of photographic equipment…
A spray bottle.
Sometimes simple really is best.
My camera: Sony A7R V
My main camera these days is the Sony A7R V, and it’s what I took with me for this little adventure.
The huge resolution of the A7R V is fantastic for this kind of photography because it gives me plenty of flexibility when I’m editing. If my composition isn’t quite perfect in-camera, or I discover some tiny detail I want to concentrate on later, I have plenty of room to crop.
But do you need a 61-megapixel full-frame camera for macro photography?
Absolutely not.
Use the camera you already have. Macro and close-up photography is far more about learning to see, understanding your light and discovering interesting subjects than owning a particular camera.
The lens: Tamron 70–300mm
Here’s where things get a little more interesting.
Instead of grabbing my Sony 90mm Macro, I decided to take my Tamron 70–300mm F/4.5–6.3 Di III RXD.
Tamron 70–300mm F/4.5–6.3 Di III RXD
And yes, I can already hear someone saying:
"Hang on, Julie. That’s not a macro lens."
Nope. It isn't.
And that was kind of the point.
The Tamron gives me plenty of reach while still being relatively small and lightweight. The Sony E-mount version weighs around 545g, which makes it quite an easy lens to wander around the garden with.
On its own, though, it doesn't give me the close focusing I wanted.
So I added something very simple.
Extension tubes
Extension tubes are one of my favourite inexpensive ways to experiment with close-up photography.
They sit between your camera and lens, moving the lens farther away from the camera sensor. This changes the lens's focusing range and allows you to focus much closer to your subject.
There's no glass inside them. They are essentially spacers.
If you buy electronic extension tubes, the electrical contacts allow communication between the camera and lens to continue, which can retain features such as aperture control and autofocus, depending on the camera, lens and tubes you're using.
They can turn a lens you already own into a surprisingly useful close-up setup.
There is a trade-off, of course. You lose the ability to focus normally at longer distances while they're attached and you can lose some light. But for flowers, leaves, textures and tiny details around the garden, they're terrific fun.
And they are a much cheaper way to find out whether you actually enjoy macro photography before investing in a dedicated macro lens.
One important tip: make sure any extension tubes you buy are designed for your camera's lens mount. Mine need to suit Sony E-mount.
A little flash can make a BIG difference
Even though I was shooting outdoors during the day, I also packed my compact Godox iT32 flash.
Why use flash outside?
Because once you start getting close to your subject, light can disappear surprisingly quickly. Your camera or lens can cast shadows, you may want to use a smaller aperture for a little more depth of field, and the breeze certainly doesn't care that you're trying to use a slower shutter speed.
A small flash gives me another option.
I'm not necessarily trying to make the photograph look like it was taken with flash. Often I just want enough extra light to bring out detail, lift the shadows and help me keep the settings I want.
The iT32 is particularly handy for this sort of adventure because it is compact, rather than lugging one of my larger lights around the backyard. Godox designed it as a compact flash with TTL, manual and wireless capabilities.
Don't forget the diffuser
A small flash close to a tiny subject can create quite harsh light.
That's where the diffuser comes in.
I use a simple diffuser that sits in front of the flash and lens and spreads that little burst of light over a much larger area.
The result is softer, more flattering light, particularly on shiny leaves, petals, water droplets and other reflective surfaces.
This is one of those pieces of kit that doesn't have to be fancy. What matters is making your light source appear larger relative to your tiny subject.
The highly technical spray bottle!
Then we come to one of the cheapest pieces of photographic equipment in my bag.
A little spray bottle filled with water.
A light mist can completely transform a leaf or flower. Suddenly you have tiny droplets catching the light, reflections, highlights and another layer of texture.
But don't drown everything!
A gentle mist is usually all you need. We're creating morning dew, not recreating the Great Flood.
I also like to photograph the subject before spraying it. That gives me two completely different looks from exactly the same plant.
What else might I throw in the bag?
Depending on where I'm going, I might also take a spare battery, lens cloth, small reflector and perhaps something to kneel on if I know I'm going to spend half the morning crawling around at ground level.
Trust me, your knees will eventually start demanding their own photography accessories.
If you're venturing farther than your own backyard, water, sunscreen and sensible shoes aren't terribly exciting photographic gear, but they're worth having too.
But what about a proper macro lens?
I own and love my 90mm Macro, and there are absolutely times when that is what I'll reach for.
But I deliberately didn't use it for this adventure.
I think we sometimes convince ourselves that we can't try a particular genre of photography until we own the "right" equipment.
Macro is a perfect example.
You can use extension tubes. You can experiment with a telephoto lens. You can try close-up filters. You can even start with your phone.
Start with what you have and see what happens.
If you discover that you absolutely love photographing the tiny world, then perhaps start looking at dedicated macro gear.
Stop looking for the perfect subject
Perhaps the most important thing I packed wasn't actually in my camera bag.
It was curiosity.
When I wander around the garden with my camera, I'm not necessarily looking for the perfect flower or some rare insect to magically appear.
I'm looking at light.
I'm looking for tiny details.
I'm looking at new growth, old leaves, textures, shapes, colour and the way sunlight catches the edge of something I've probably walked past hundreds of times.
That's one of the things I adore about macro photography. It changes how you see familiar places.
You don't need a botanical garden or some spectacular location.
Your backyard can be enough.
A local park can be enough.
Even a pot plant sitting near a window can be enough.
My simple macro adventure kit
For this particular adventure, my kit was incredibly simple:
Sony A7R V
Tamron 70–300mm F/4.5–6.3 Di III RXD
Extension tubes
Godox iT32 compact flash
Flash diffuser
Small spray bottle
That's it.
No enormous camera bag. No complicated lighting setup. No dedicated macro lens.
Just enough gear to get outside, slow down and explore.
And perhaps that's the real point.
Sometimes photography doesn't need to be a huge production. Grab a camera, use whatever lens you already have, wander outside and start paying attention to the little things.
You might be surprised by just how much there is to photograph right outside your door.
So, what's hiding in your backyard?