

A beginner’s guide to graduated neutral density filters
A beginner’s guide to graduated neutral density filters, what are they, how to use them and what type should you get? All really good questions. Add to those, WHY should you be using them and HOW can they improve your photos?
What is a graduated neutral density filter?
A graduated neutral density filter (also known as a Grad ND, GND or even just an ND filter) is a square or rectangular piece of glass or resin that is partially tinted, but not all the way across. It has a gradient from dark to light. They are usually placed in a special holder that mounts to the front of your lens. They can then block part of the frame while leaving the rest of the frame unaffected.

Graduated ND filter and filter holder on Sony camera
Why use a Grad ND Filter?
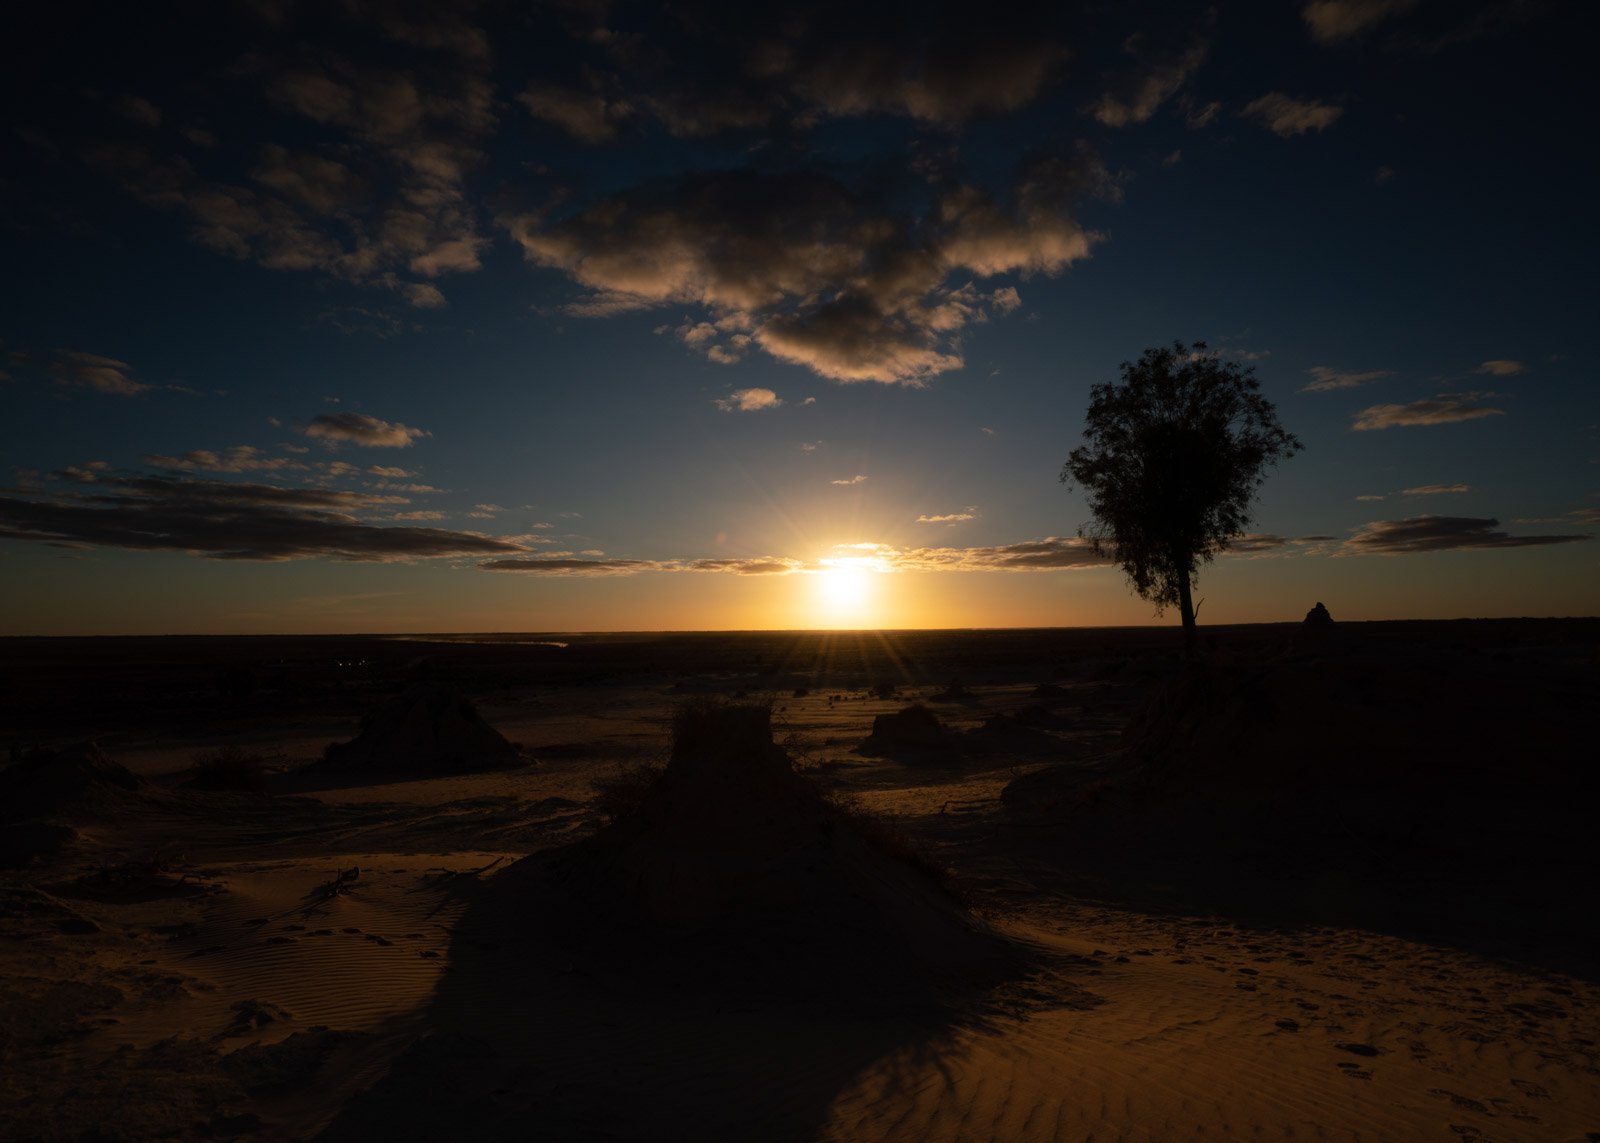
By placing an ND filter over your lens you can block light from the brightest part of your scene, such as the sky. If you are shooting a sunset your sky might be very bright, but your foreground is quite dark. Using an ND filter with the dark situated at the top, you can even out the tonal range within an image and can allow you to capture the entire shot within a single image. So a well-exposed sky and foreground. While a silhouette is lovely, sometimes you want to capture more details of the foreground.

Silhouettes are nice, but sometimes you want details
How will it improve my photos?
Many landscape photographers use an ND filter, especially for sunrise and sunset. But they can be beneficial in any situation where you have an overly bright sky, architecture, real estate etc. Especially if there is a clear horizontal (or even vertical) division between light and dark. This doesn’t mean you leave them permanently on your lens. If your scene doesn’t have a strong bright/dark tonal range, then you can easily go without. Using a GND also has the added benefit of allowing for longer exposures, creating some pleasing blur effects in your photos. However, that is where a standard Neutral Density Filter can be handy over a Graduated Neutral Density Filter.
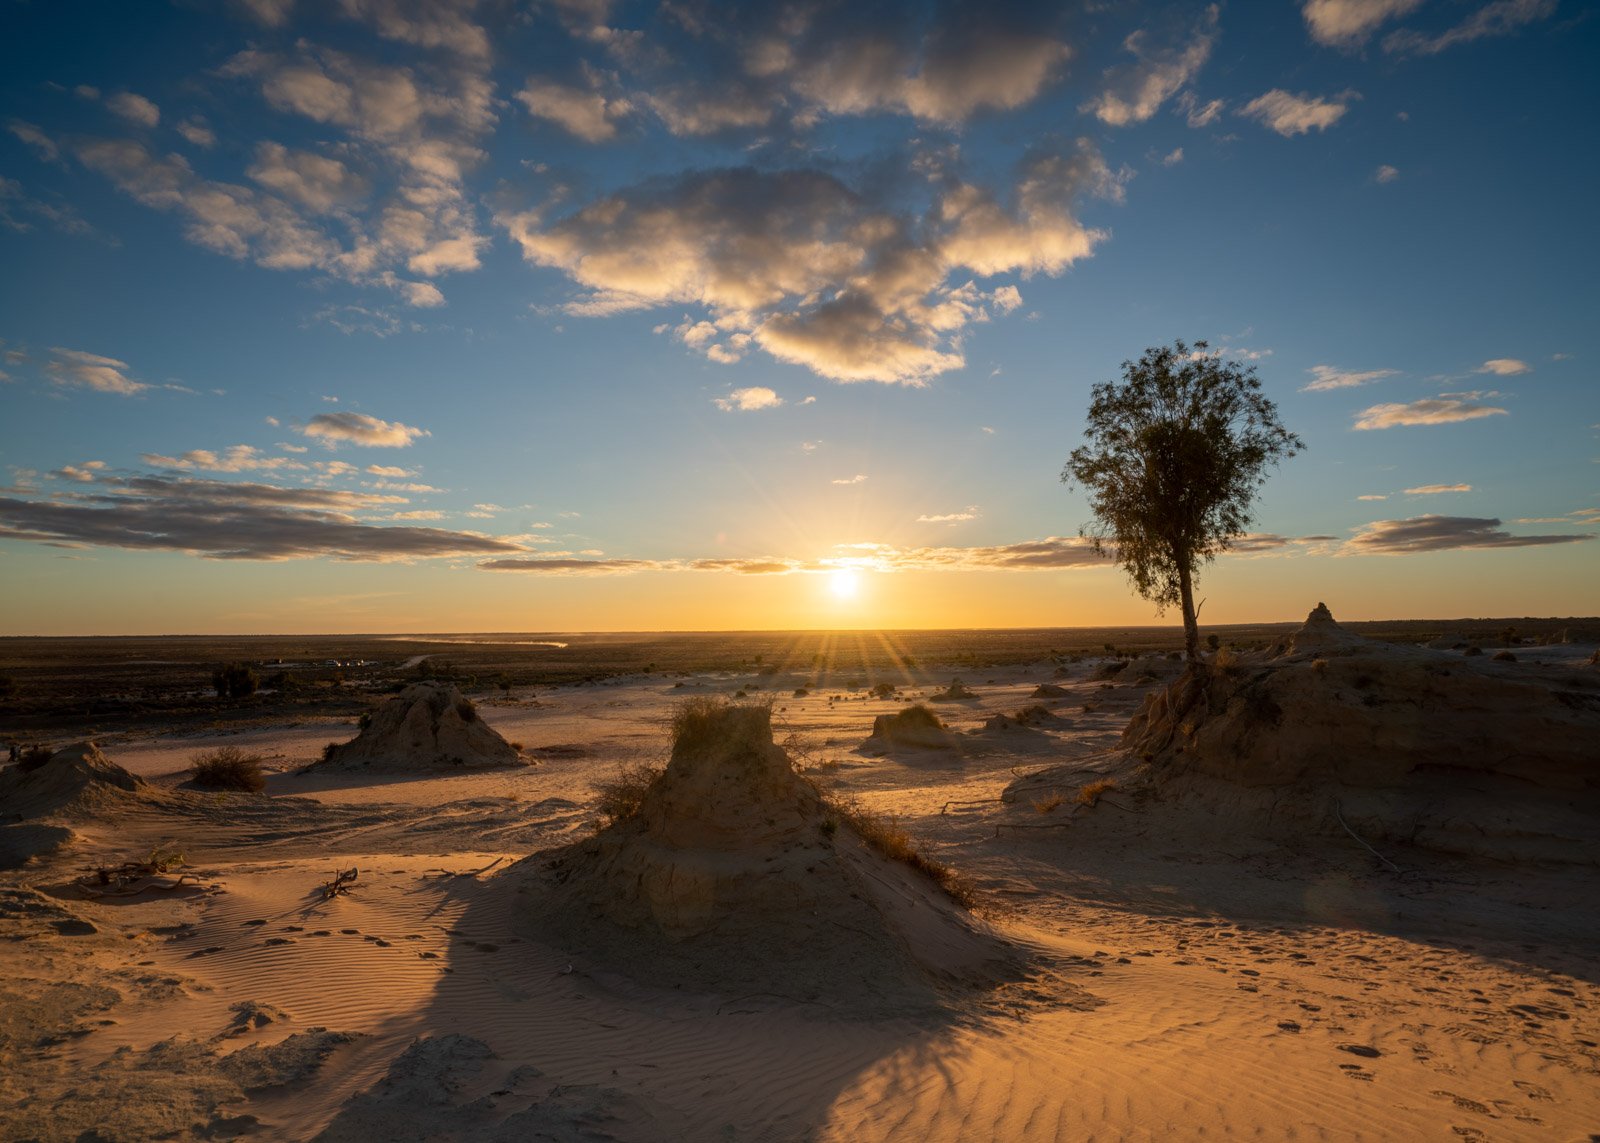
Using this method prevents over-exposing or under-exposing various parts of your images, which cannot always be fixed in post-processing. Or trying to do so brings in too much noise and blown-out areas. Capturing an even tonal range and a well-exposed image will give you a much more pleasing image without all the painful processing.
How to use a Grad ND Filter?
They are actually pretty easy to use. The holder generally screws onto your lens (they come in different lens diameters). Then the glass filter drops into slots – start with the slot closest to the lens. There are usually screws to tighten to prevent the filter from falling out and breaking. Make sure your filter is secure.

The filter holder screws onto your lens
Set up your tripod and meter off your foreground (try putting your camera in Manual Mode and tilt your camera towards the ground.
Next, take a meter reading of the sky, and calculate the difference, ie if the sky is +2 and the foreground was -1 there is a 3-stop difference between the sky and the ground
Use a GND Filter within one stop of each other (ie 2 stop GND Filter)
Place the holder onto your lens. Often they screw or clip-on, then slide your GND filter into place and situate the gradient over the horizon line. Depending on your GND it will have a hard or soft graduated line.
Finally, expose for your foreground and take your shot, it should be well exposed. Check your histogram, you may have to make minor adjustments. It might take a bit of practice, but it is worthwhile.
What type of GND Filter should I get?
I mentioned hard and soft gradients, but which should you get? There are actually a few variables to consider. The soft-edge GND offers a more gradual transition between clear and dark, whereas the hard-edge is a short transition.
A hard-edge filter is useful if you have a very definite horizon line like a seascape where the horizon is simply water and sky. You can let the dark portion cover the sky and position the gradient edge over the horizon line. You don’t really require a large gradient.
A soft-edge filter is designed for scenes without a straight horizon line, such as a sunset over a mountain or forest. The gradient lets you darken the sky without an obvious horizon line, you can position the edge roughly over the horizon and let it gradually lighten.
They also vary in strength, 1,2 and even 3 stops of light. It sometimes pays to have a few different ones. You can also stack these in most filter holders, making a larger gap in brighter versus darker areas. I also mentioned standard ND Filters, these have no gradient in them at all. They are the same density from top to bottom. Great if you want to create long exposures of water.
Why not just use bracketing?
That’s a really good question. Bracketing can get you out of all sorts of exposure problems. Some of the newer cameras even have built-in exposure bracketing and such. And it is handy to use, but it does require post-processing in most cases. Bracketing doesn’t always get the same tonal ranges as using a GND filter. It comes pretty close. The other thing that GND and ND filters get you is that long-exposure. Depending on how long an exposure you require you can stack filters up, you can’t really get that with bracketing.

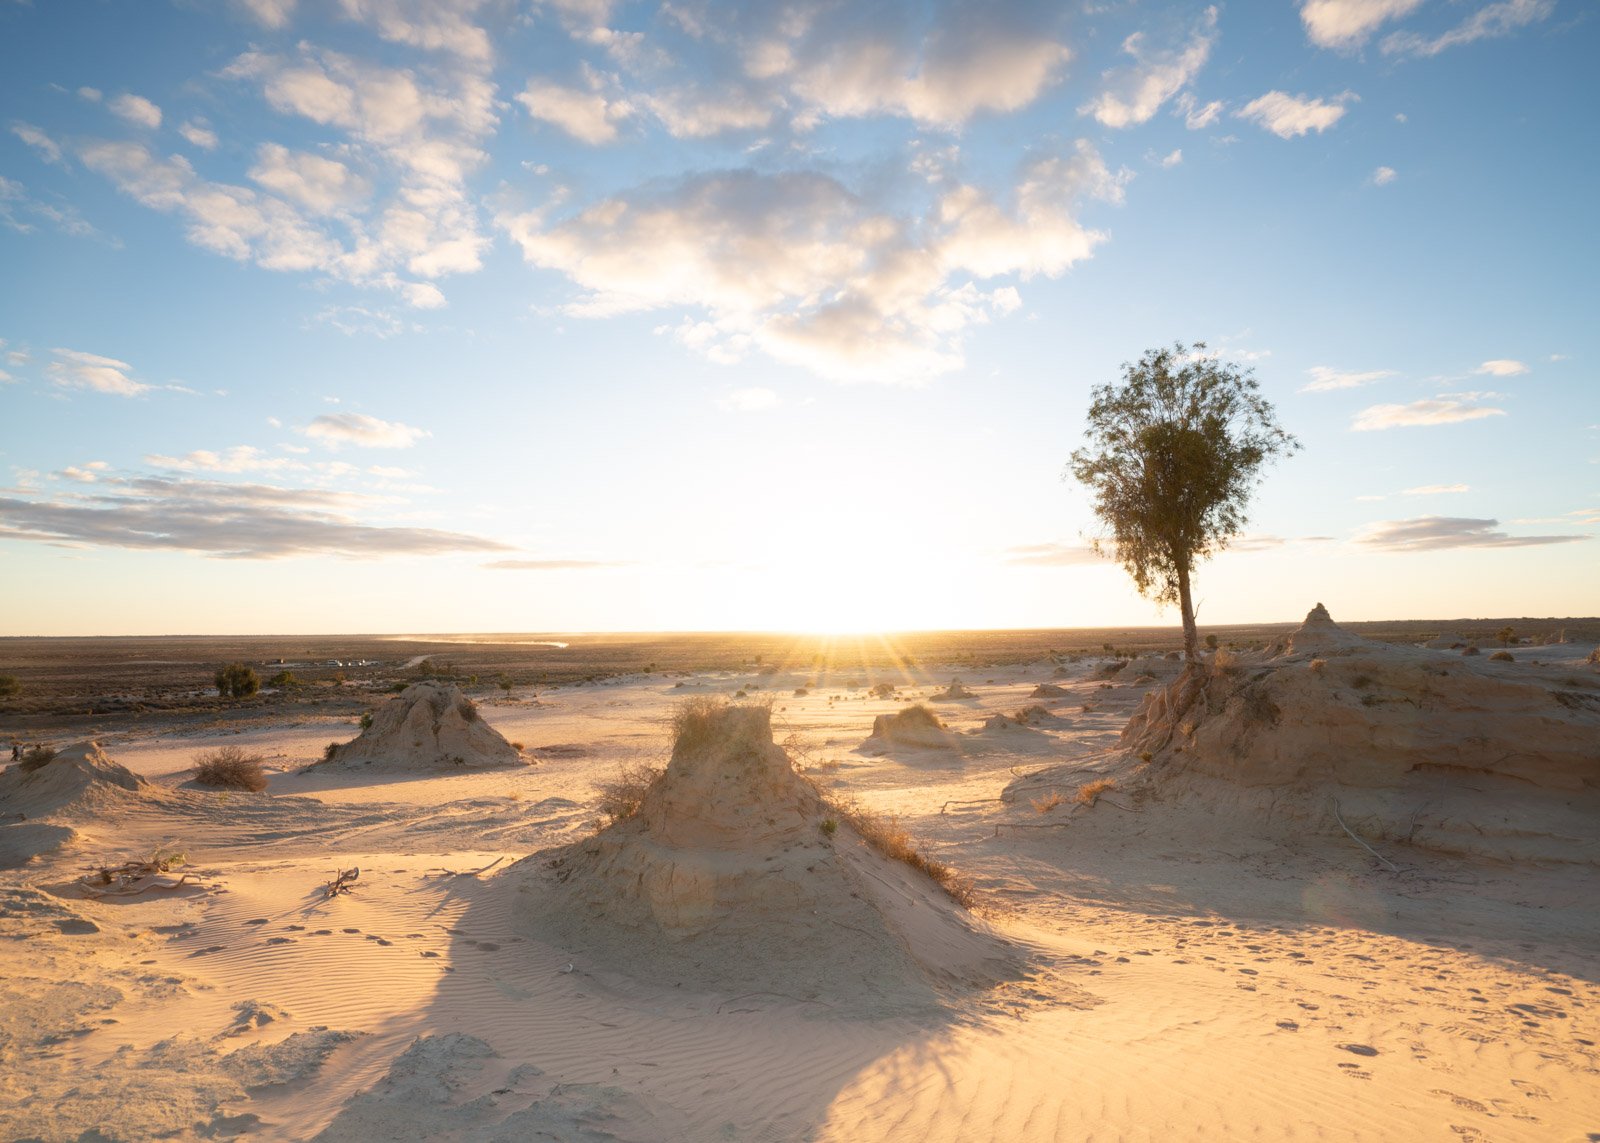
Capture the sky and the foreground
A final word on GND filters
I’m not a huge landscape photographer, but I don’t mind a nice sunrise or sunset shot of a pretty landscape or especially a seascape. I have a range of soft grads (I prefer a soft over a hard-edge, even for seascapes). I have a 1 & 2-stop GND filter and I have a screw-on square/rectangle filter holder. I often mix these with an ND filter to get long exposures of waves and such, which I feel add to a scene. Make sure they are clean, seaspray and such can smear on them.
There is no harm in trying the GND filters and bracketing in the same spot and seeing the difference, you might be surprised.

