
Enhancing eyes in Luminar Neo
Making eyes pop in Luminar Neo has never been easier, with a few sliders and the Artificial Intelligence (AI) now available in Luminar FaceAI.
Set your basics
Once you’ve opened your image in Luminar, edit as you wish, a great place to start is creating your own Presets for a cohesive look across an entire folder. You can then use it again and again.

Create and use Presets in Luminar Neo
Using FaceAI
If you head over to the Portrait Panel in Neo, you can adjust with SkinAI and BodyAI and even play around in Portrait BokehAI which tries to add a depth blur, however, I don’t really like it personally. Open FaceAI you can slim the face if you wish, you can add more light to the face from here too.
Drop down the Eyes and Mouth tabs and you have a whole lot of options, from changing the eye color to adding catchlights (Iris flare), whitening eyes and teeth, and removing dark circles. I do advise caution, as sliding these options up to high, may give you some strange, unrealistic results. Less is more, especially with whitening eyes and teeth.

Luminar Neo FaceAI
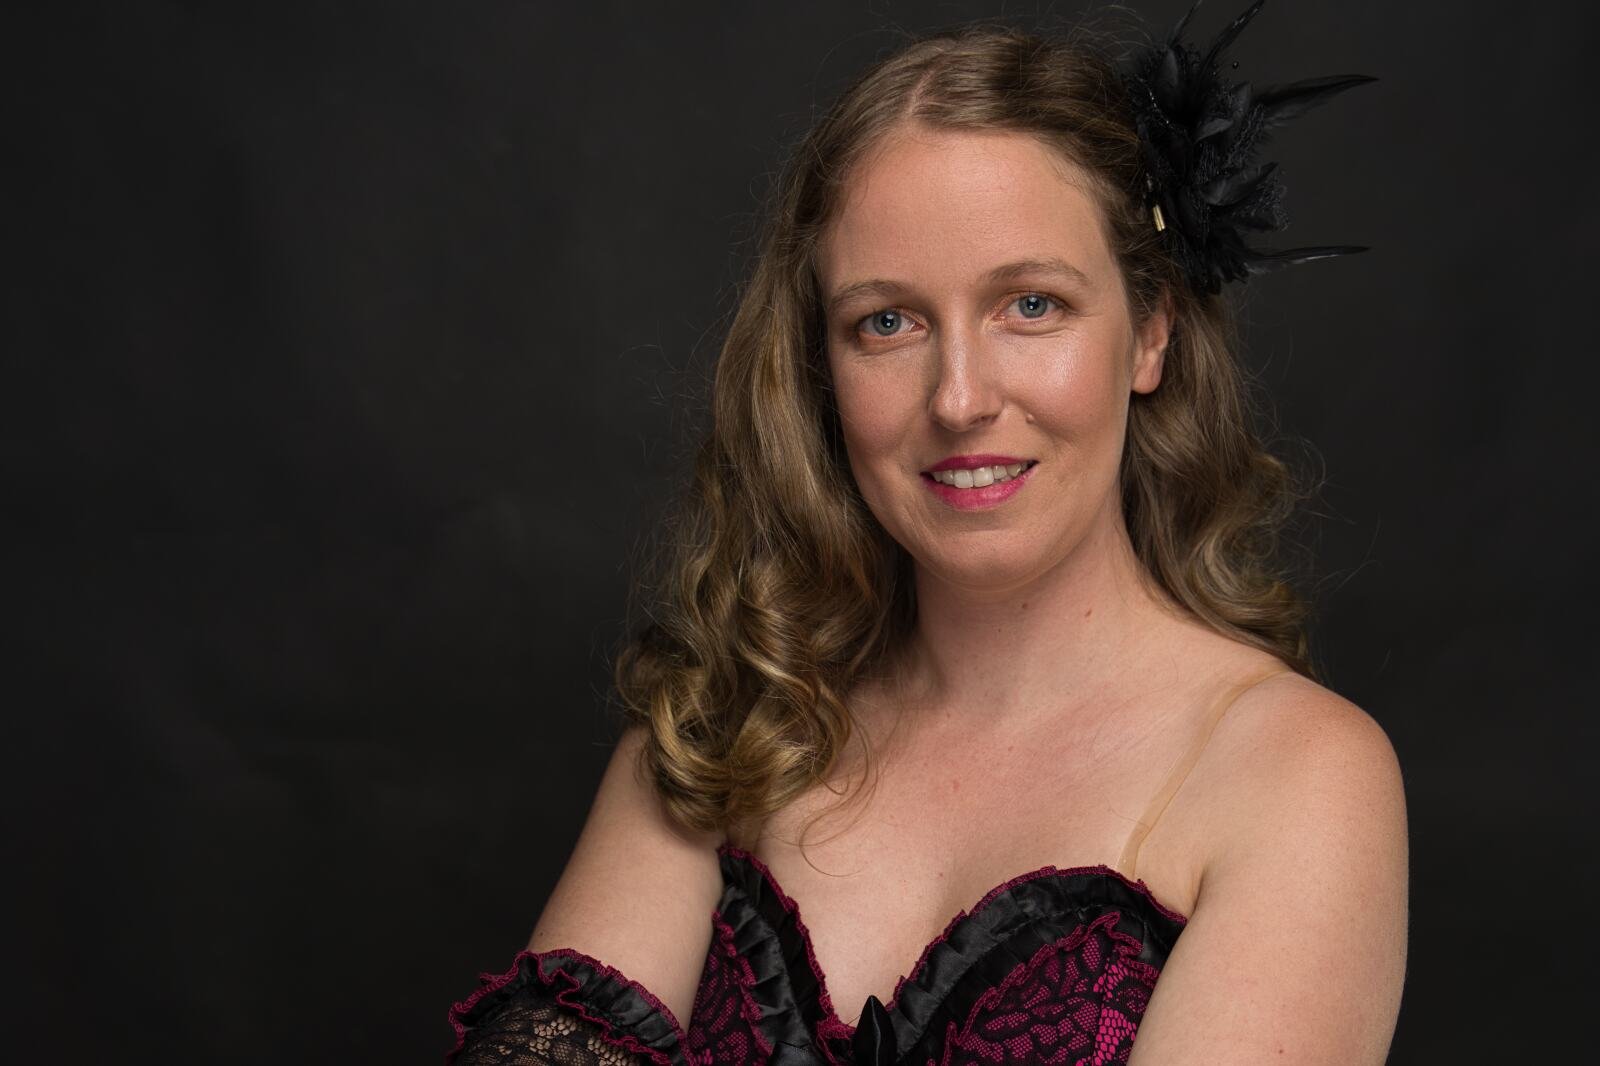
With the finished result, I added more Glow and High Key as I wanted that really glamour glow look, like she is under spotlights at the Moulin Rouge. However, you can scale it up or down to suit your own personal taste…it’s all super easy.